The Super-Simple, Step-by-Step Guide to Painting Your Apartment

So, yeah: There's a right and a wrong way to paint a room, and I am a prime example of the “wrong” end of that spectrum. For first-time painters like me, though, figuring out the best way to get it done, and then actually putting it into practice, can be a daunting task. It may be tempting to call in the professionals, but fear not: There are ways to make painting easier, stress-free, and dare I say enjoyable…even if you have no idea what you’re actually doing.
"Professional painters will always spend more time prepping than actually painting,” says Eric Stogner, a manager at wallpaper company Farrow & Ball Brooklyn. "This is the boring part, but the more care you take at this stage, the better the paint will look and the longer it will last."
If you've never done it before, taking on a project like this can be scary and overwhelming. But it doesn't have to be.
Read on for how to paint an apartment the right way, no TaskRabbit required.
Prioritize prep
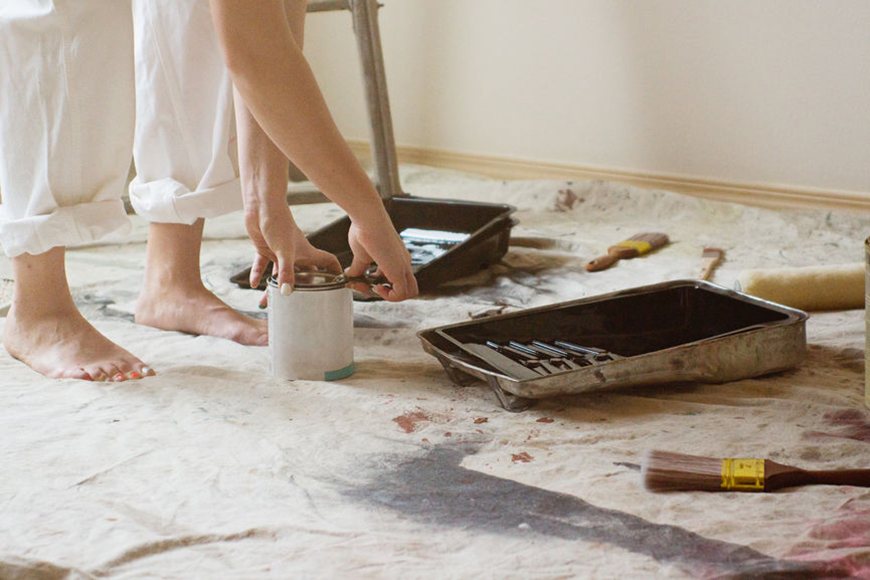
“The number one mistake is the failure to plan ahead,” Stogner says. "This can include failure to purchase the correct tools and products (primer) or failure to ensure that you have enough time for surface preparation, which is key to a successful paint job.” Tape the edges, lay down a drop cloth, and figure out a realistic timeline for the project, which will depend on both the size of the room and the intensity of the color that you select.
Stock up with the right tools
Good news: In recent years, there have been some seriously high-tech updates to the old paint-tray-and-roller system. Home Depot also offers tools like this paint sprayer, which makes paint application slightly less of a mess-making hassle. Choosing the right kind of tape is important, too. Celebrity contractor Chip Wade swears by Delicate Surface Scotch Blue, which won't rip up your walls.
Sand your surfaces
The smoother the surface, the better. “If you can feel it, you will see it,” Stogner says. "Loose paint and plaster need to be removed by scrapers or sandpaper.” If you’re re-painting your previously painted trim, you should sand the surface lightly before you start to give the new lacquer something to bother to. Stogner notes that you don’t *always* need to sand away all of your previous paint, as long as the surface is in good condition.
Don't skip primer
“Do not skip the priming or undercoating stage, however tempting that may be,” advises Stogner. "Priming is designed to stabilize surfaces and prepare them for the paint." It's okay if the primer coat looks patchy, he says, so don't worry if your handiwork isn't perfect.
Paint smart
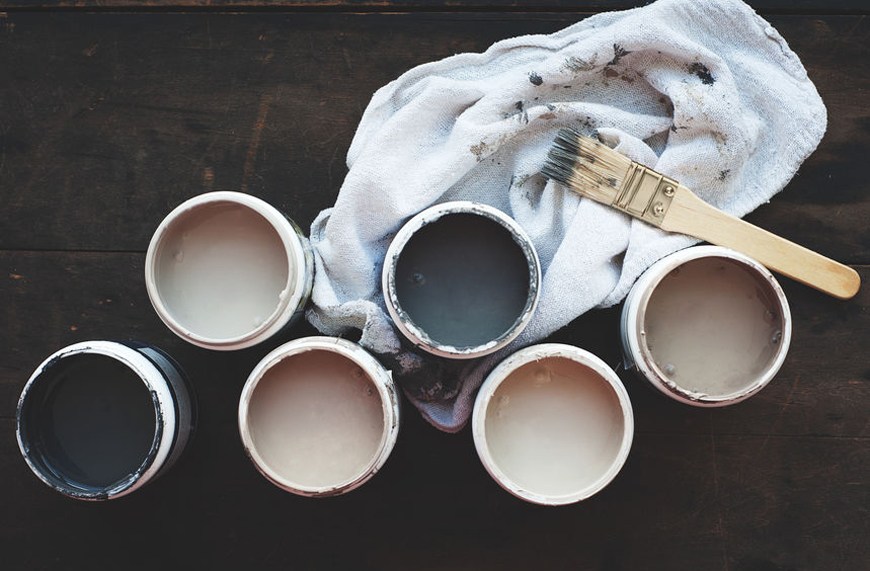
Once the prep is complete, it’s time for the (… kind of) fun part! But there’s a right and a wrong way to actually paint, too. Start by selecting a low- or no-VOC paint, which give off less off-gassing than traditional formulas. Apply the paint in a vertical direction, then spread it out horizontally. Switch things up for the final coat: "Lay off the paint in a single direction to minimize any brush marks and brush patterning effects," Stoegner says.
Adhere to the 3-foot rule
To make things even easier during the application process, try to divide the room into smaller sections and paint through them methodically. "I like to work in 3-foot wide sections because it's manageable," Wade says. "And I don't necessarily like to go from top to bottom. You should be starting at waist height and then going up to the ceiling in about a 3-foot wide swath. Once you get there, come back down and do the bottom side." A few (thousand) swipes of the roller, and your walls will look brand new!
To thank whoever you wrangled into helping you paint, whip them up some crispy GF pizza. Then toast to your apartment's new look with these refreshing summer big-batch cocktails.
Loading More Posts...


