The Perfect DIY Pedicure in 7 Easy Steps

 In the summer, when all toes are on display, peeking through open-toed sandals or fully asserting themselves on your yoga mat, it's tough to ignore the callouses you've been cultivating. (Hello stocking-free days in heels and on riverside runs.) Of course, popping into the salon for a pedicure on the reg isn't always possible.
To help, we talked to foot experts Nadine Abramcyk, co-owner of luxe New York City nail salon Tenoverten, and Quinton Yeldell, DPM, founder of Brooklyn-born foot-care company Southern Hospitality, to find out how to get similar results in your tiny apartment bathroom.
You just may have to tap a significant other or roommate if you're really missing that lower leg massage.
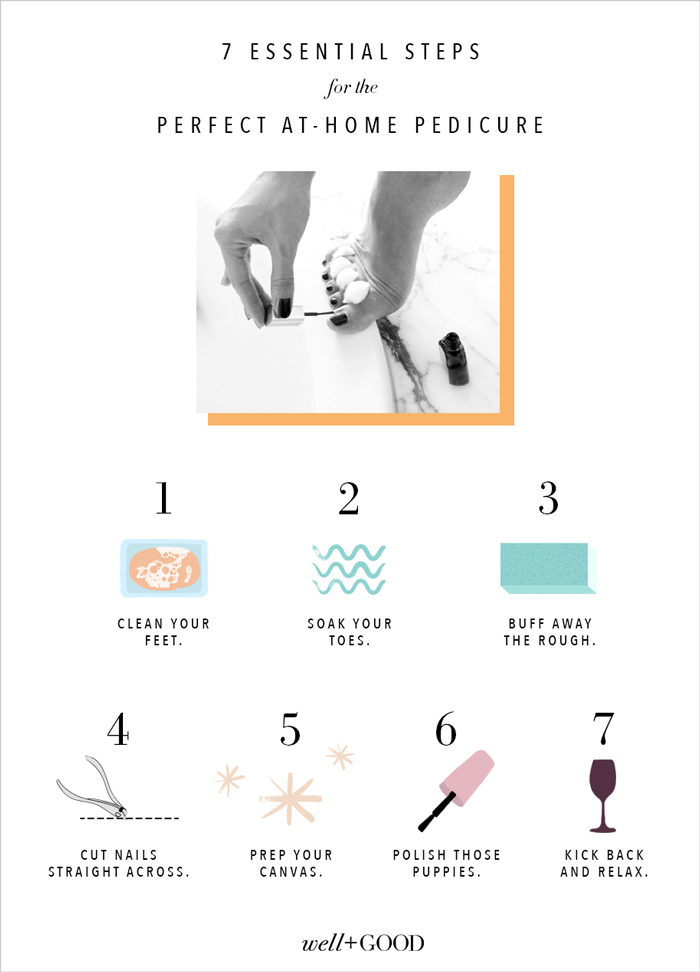
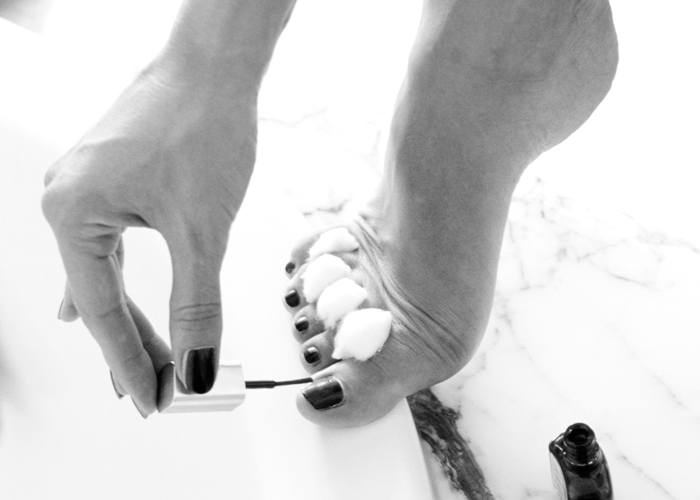
1. Clean your feet. Do this before anything else, Yeldell suggests (especially if you've been running around NYC in sandals!). "The dirt and grime from your shoes can contribute to an unsanitary situation. Clean feet help keep your pedicure a lot more germ-free."
2. Soak your toes. Skipping the soak is one of the biggest mistakes people make at home, Abramcyk says. "It feels cumbersome," she recognizes, but simply filling your tub with a little water will do the trick. "Just let feet soak for 10 minutes. It’s the only way you’re going to get that dead skin off your feet." The temperature doesn't matter much, so use what's most comfortable, and while products aren't necessary, Southern Hospitality makes a Sweet Tea Foot Soak that smells amazing and will add a little spa-like mojo.
3. Buff away the rough. Using a pumice stone or foot file each time you give yourself a pedi will help keep callouses to a minimum. Abramcyk likes the Diamancel Foot File from Bliss Spa. "I use mine a few times during the week in the shower to prevent build-up," she says. Just don't ever use sharp objects to trim callouses, Yeldell warns. "Being overly aggressive and using improper technique can cause injury and infection." (There's a reason those razors are now illegal to use in salons.)
4. Cut nails straight across. "It’s best to avoid rounding the corners," Yeldell advises. You risk developing ingrowns as they grow out. "Plus rounded corners expose the nail bed, giving easy access for fungus to invade." (Eww.) If you have an ingrown toenail, never ever try to fix it yourself. Both experts agree it will just make it way worse, so see a podiatrist, please.
5. Prep your canvas. Before applying your base coat, make sure your nail bed is completely clean. "Any lotion reside or cuticle oil will make polish peel and lift really fast," Abramcyk says. Dip a piece of paper towel or a cotton pad into nail polish remover and give each nail a quick wipe-down. Then, make sure to use toe separators—they don't even need to be those official foam ones, a few crumpled up tissues will do. "It helps get air to the nails," Abramcyk says, which is important for a flawless finish.
6. Polish those puppies. Now for the fun part. Apply one layer of base coat—the most important product in terms of nail health, according to Abramcyk. The Tenoverten The Foundation Base Coat, for example, is 5-free and full of nail-strengthening botanicals. Then, apply two coats of color, let dry for a minute or two, and apply a quick-drying top coat.
7. Kick back and relax. This might sound like a no-brainer, but painting your toes before running out the door is the best way to mess up your handiwork, and we all do it. Even showering a few hours after can get moisture under the nail and cause dents, Abramcyk warns. She suggests using quick-dry drops and blasting toes with some cold air from a hair dryer to speed things up. Then, just sit still for a bit. There's always Netflix. —Amy Marturana
For more information visit Tenoverten.com and Sohofeet.com
(Photo: Flickr/moonberry)
Loading More Posts...


