Our editors independently select these products. Making a purchase through our links may earn Well+Good a commission
How to shibori tie dye your sheets for a dreamy bed makeover
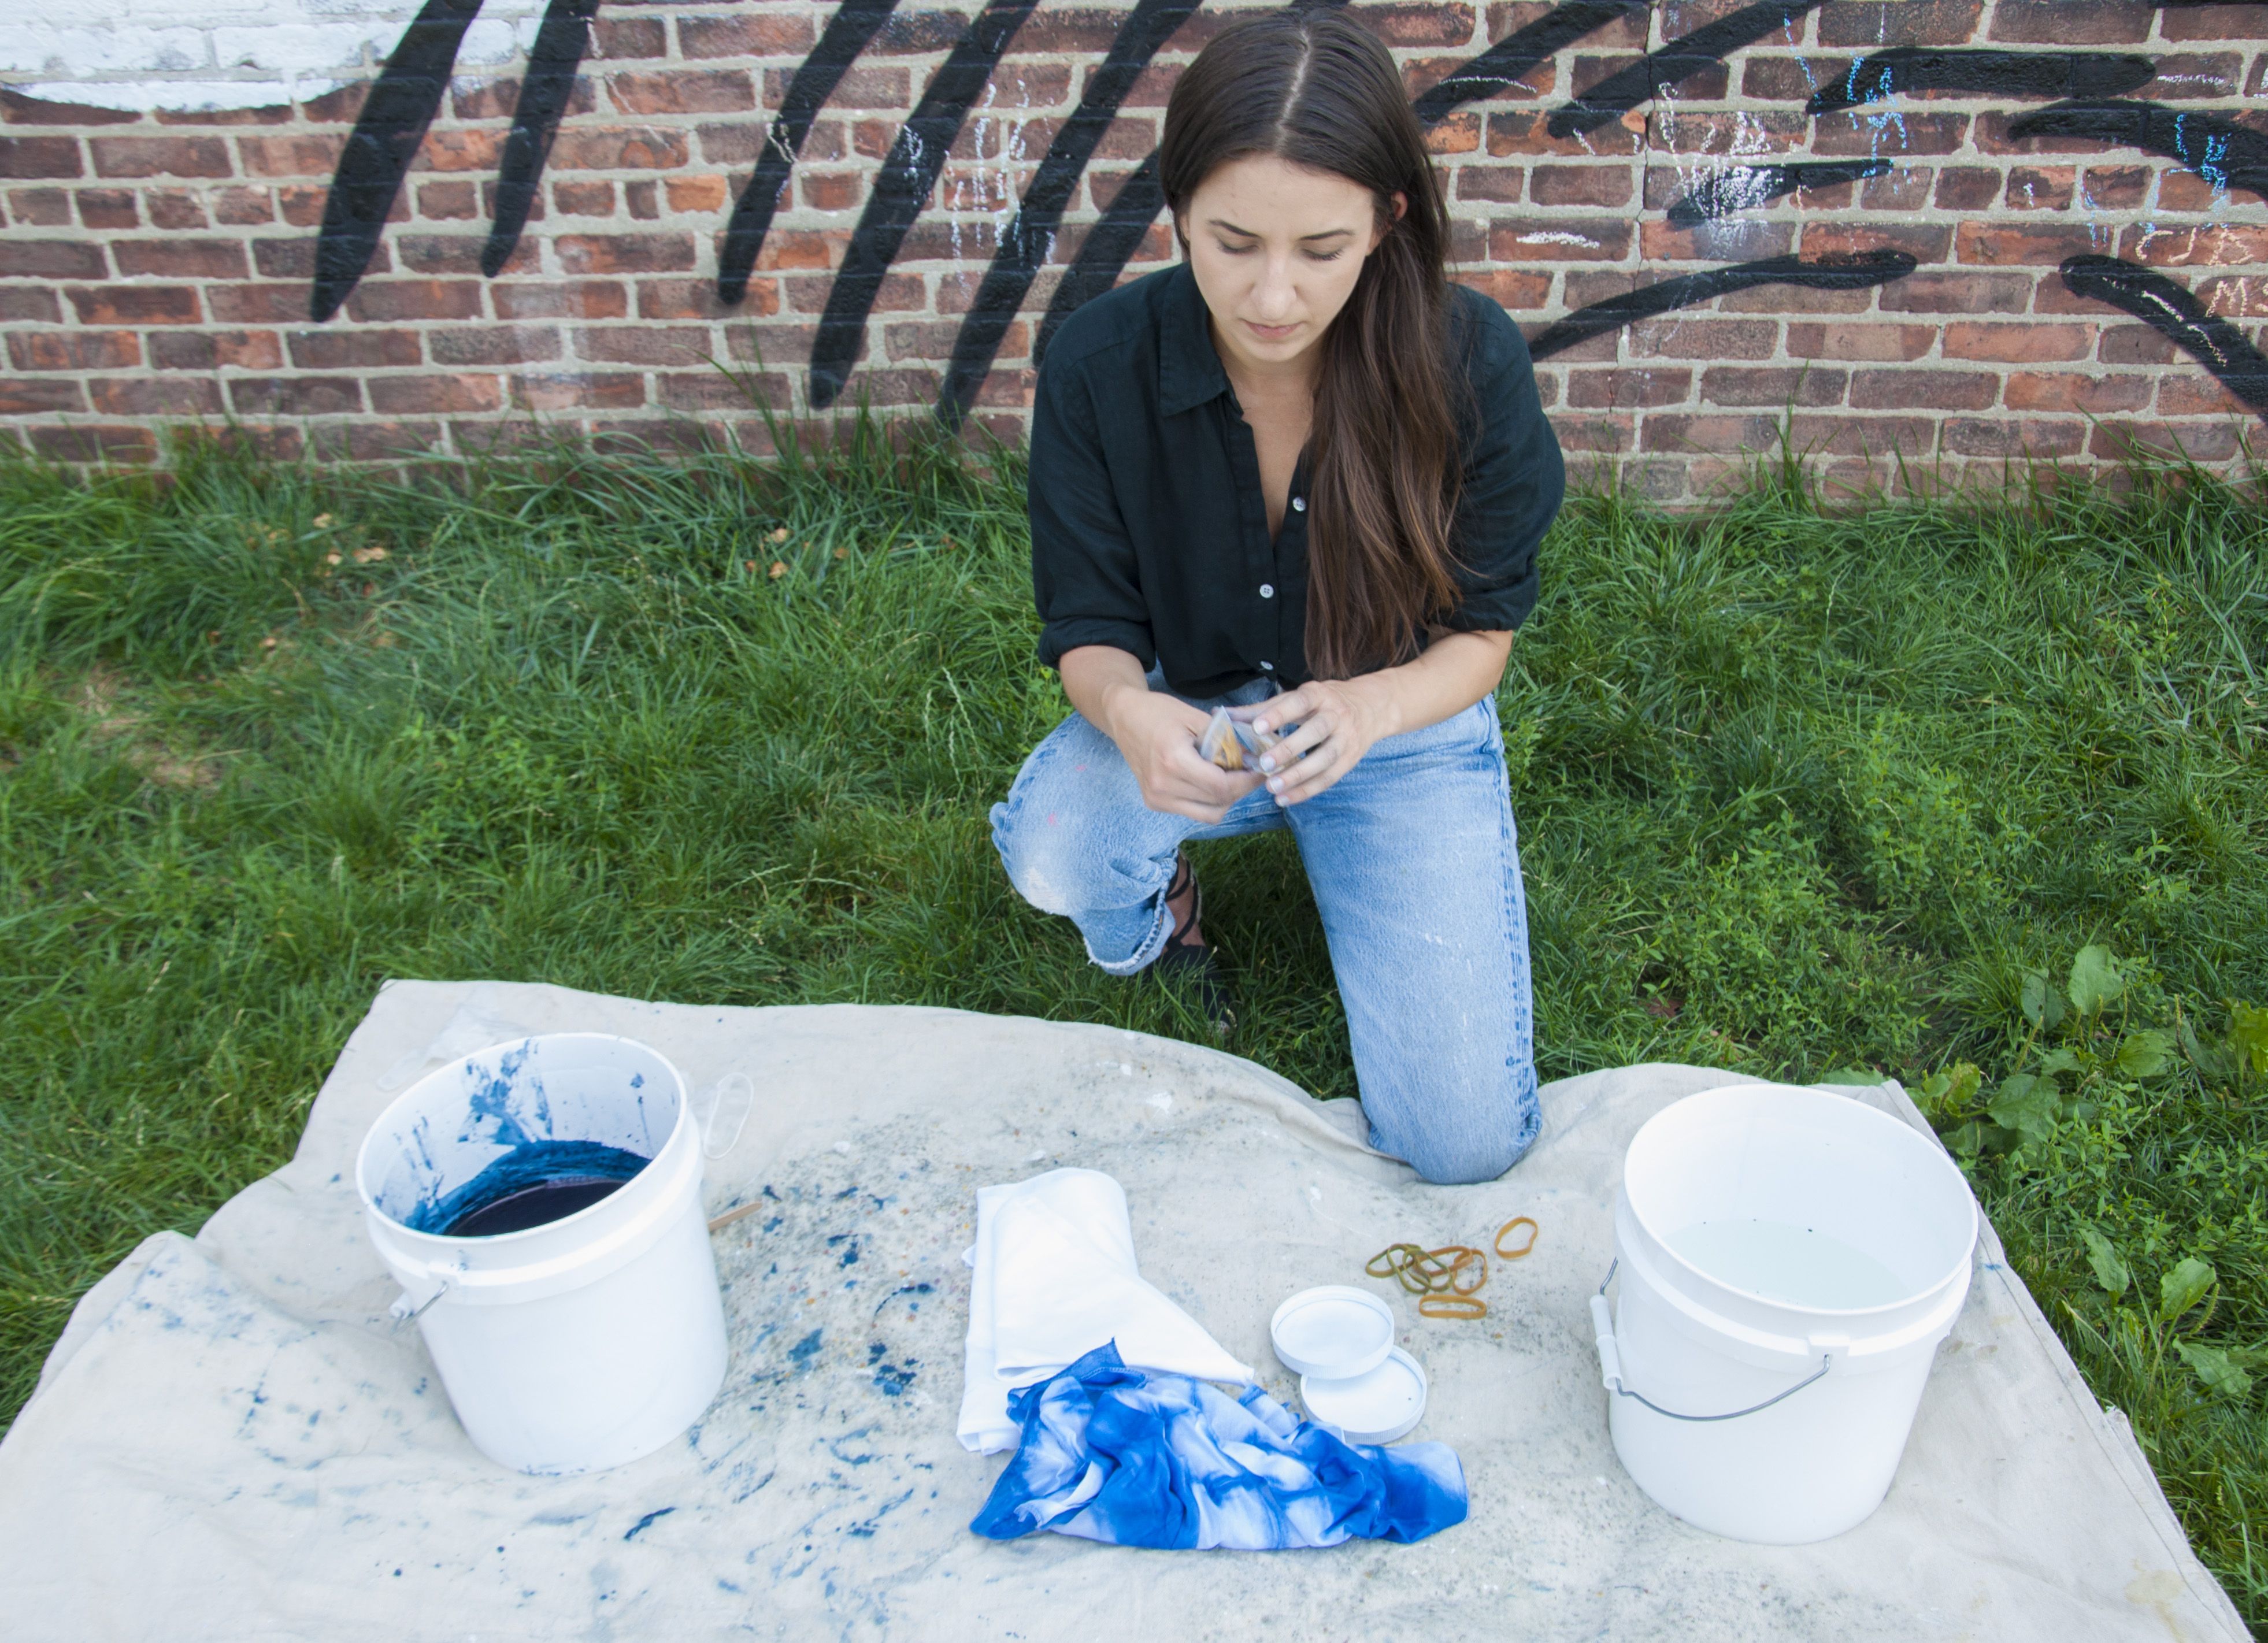
Megan Mussari, founder and designer of the shibori-centered clothing brand Apprvl, offers a step-by-step guide to the Japanese tie dye technique.

If you’re looking for a way to extend your summer bliss into September, consider shibori dying your sheets—it’ll make drifting off to sleep feel like you’re floating in the ocean, conjuring cool memories of hazy beach days from the comfort of your bed.
The Japanese technique uses natural indigo to saturate fabrics in a range of inky, aquatic tones. And while it looks super luxe, it’s actually easy to DIY, according to Megan Mussari, founder and designer of the shibori-centered clothing brand Apprvl. “It’s kind of like adult summer camp,” she says, making it an ideal outdoor project if you’re looking for low-key Labor Day plans.
“It’s sophisticated, but it’s also playful and fun, so it really appeals to anyone.”
Though, it’s worth noting that a shibori sesh is nothing like making a macaroni necklace. Think: summer camp gone chic. For starters, rather than the hippie swirls of your childhood tie dying endeavors, the treatment creates clean, elegant, geometric patterns. “It’s sophisticated, but it’s also playful and fun, so it really appeals to anyone,” says Kalen Kaminiski, owner and designer of Upstate, another fashion brand that utilizes the fabric-dipping process for its pieces. And really, the only summertime blues you should be feeling are on your bed, right?
Scroll down for Megan Mussari’s step-by-step guide to shibori tie dying fabric.

DIY shibori tie dye instructions
When dying fabrics, Mussari uses her own take on a traditional shibori style called itajime, which uses bindings to apply pressure resistance to fabric in different places, creating shapes and patterns. The technique can work in any outdoor (or indoor) space. She recommends using pre-washed fabrics made from a natural fiber like linen, cotton, or silk.
SuppliesA pair of 2-gallon buckets with lidsA natural indigo dye kit (Each makes approximately 5–7 larger pieces or 10–12 smaller ones.)A bunch of small, yet thick, rubber bands2 small plastic lids (like the type you’d recycle from a jar of kimchi)WaterWooden paint stickProtective drop clothGentle detergent like Dr. Bronner’s or Mrs. MeyersOptional: disposable gloves (Mussari prefers not to use them so she can feel the fabric, but the dye will stain your hands and nails for a few days, FYI.)
1. Prepare your dye bath
Combine the indigo, thiox, and soda ash as instructed on your kit. Neither thiox nor soda ash is synthetic. Rather, they’re both naturally occurring compounds (like indigo)—thiourea dioxide and sodium carbonate. Slowly stir with a wooden paint stick to make them all dissolve. Cover it up for later—it’ll need 15–30 minutes to settle. Fill the other bucket 3/4 full with water.

2. Lay the fabric flat and fold it into fourths vertically
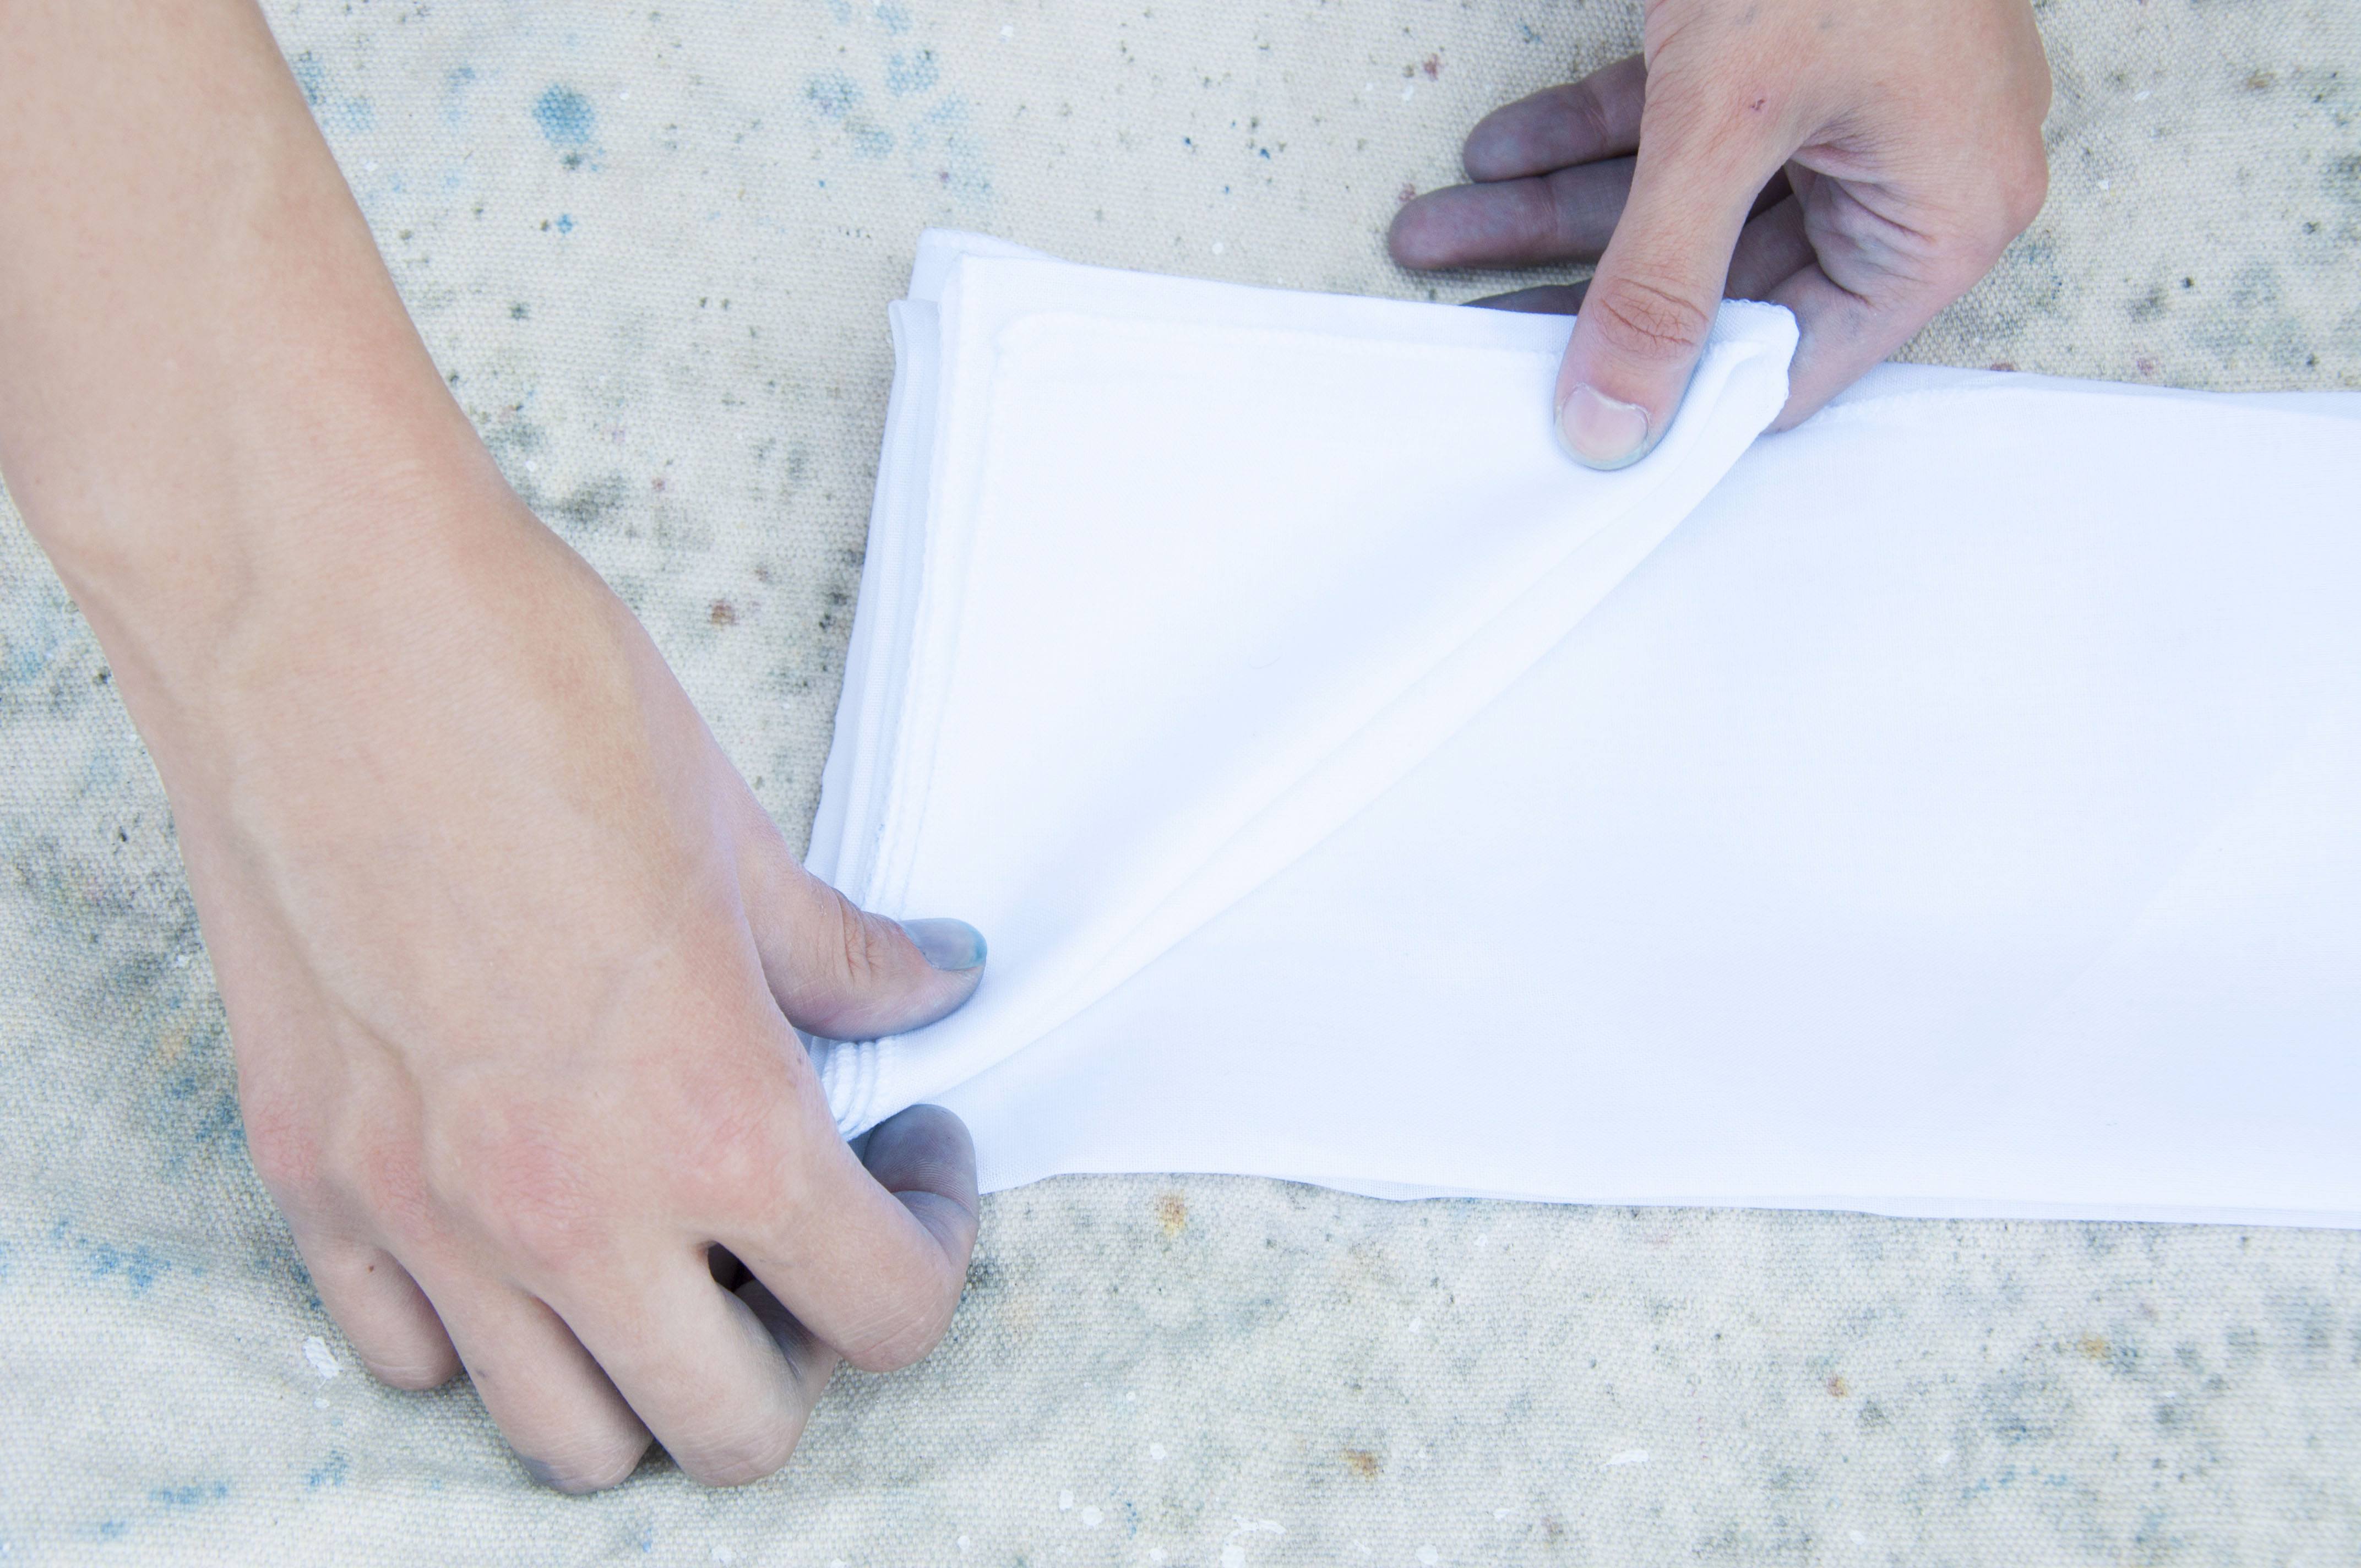
3. Bring the bottom, left-hand corner upward to make a triangle
Fold this triangle backward as if making an accordion. Then fold it forward and down. Continue folding in this accordion style until the whole garment is shaped into a triangle, with all of its edges exposed.
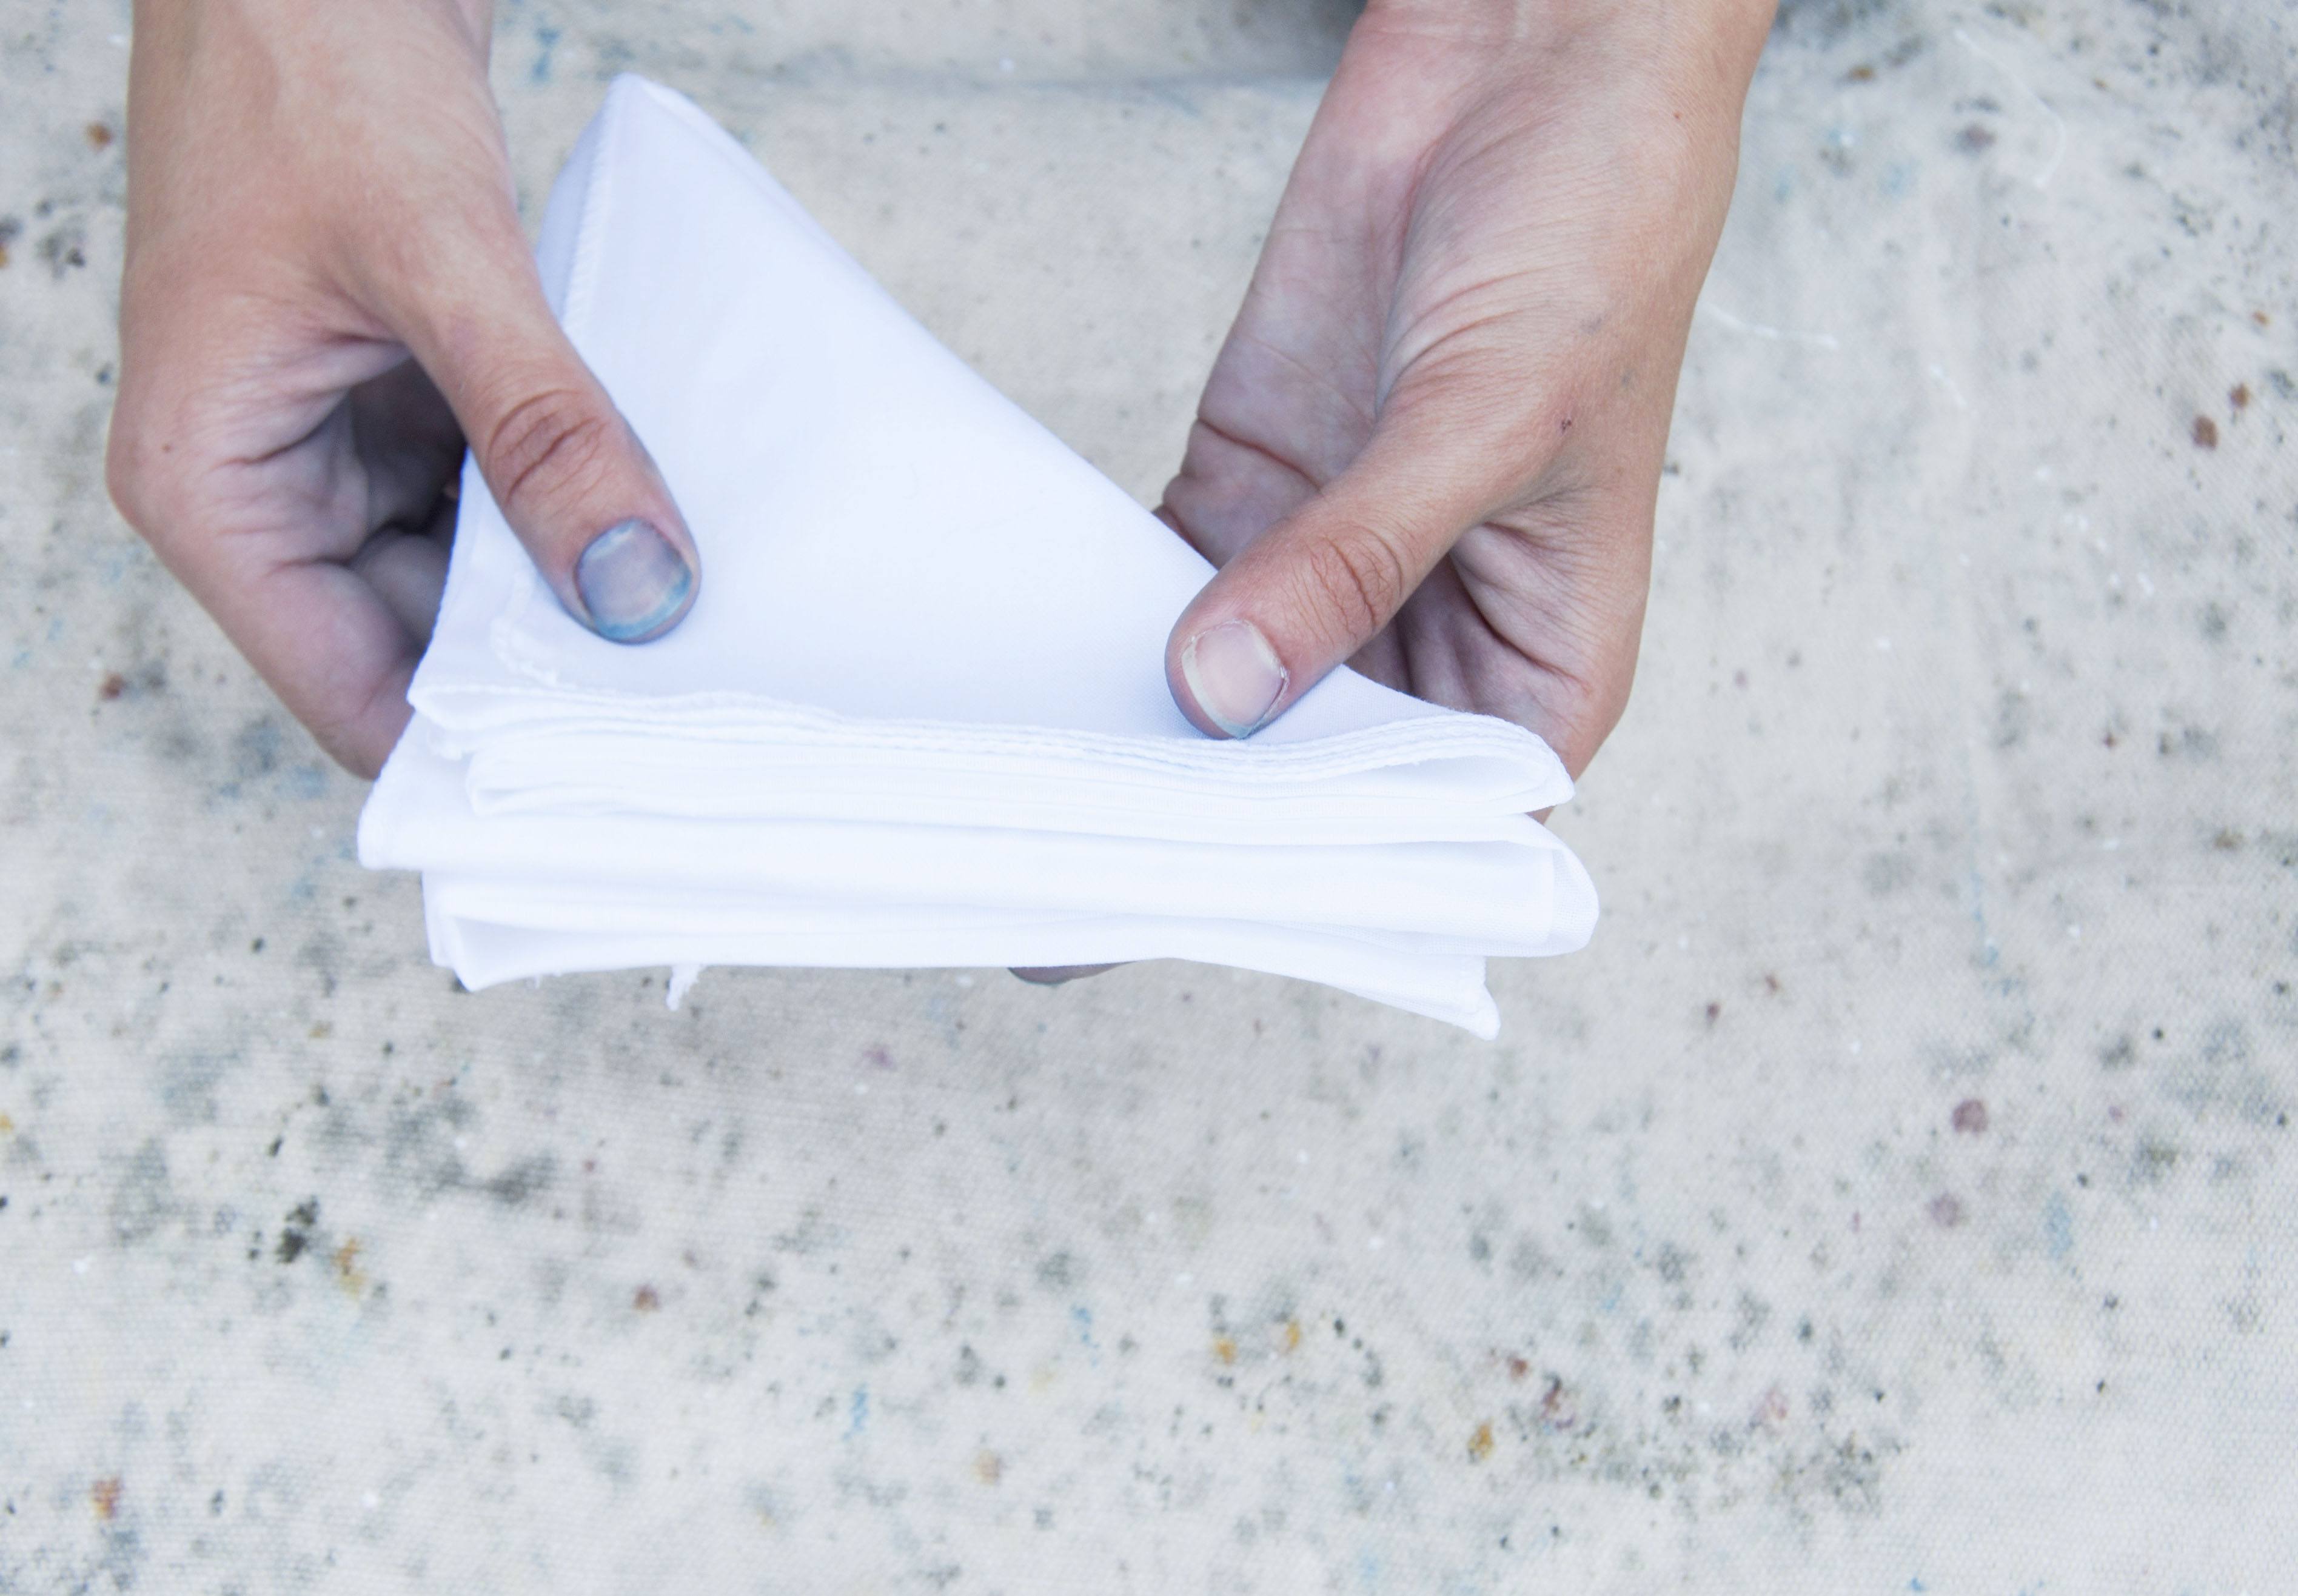
This is what the finished triangle should look like

4. Place the triangle between the flat sides of the plastic lids as if making a sandwich
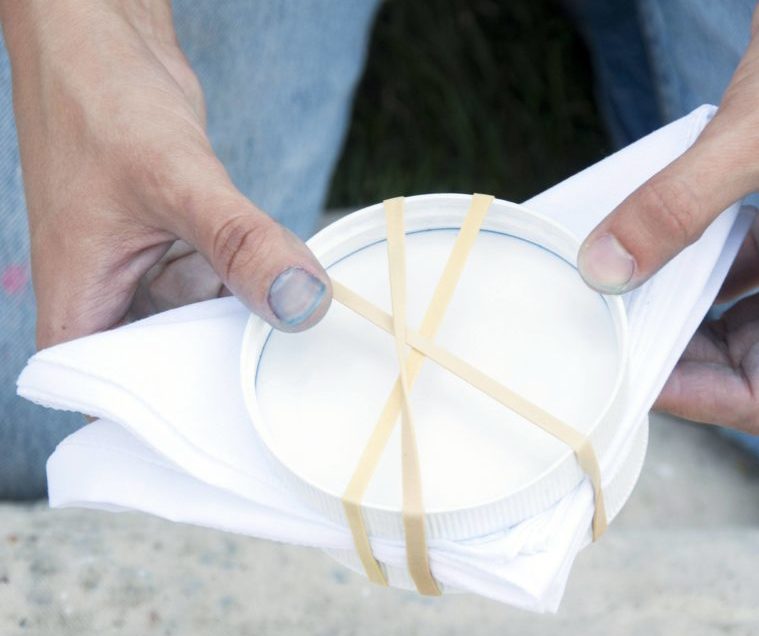
5. Put rubber bands around the triangle sandwich to keep it tight
You don’t want the bands to be loose or the dye will get into the area you’re trying to block off. Make sure the lids are centered on the triangle so its edges are even and visible.
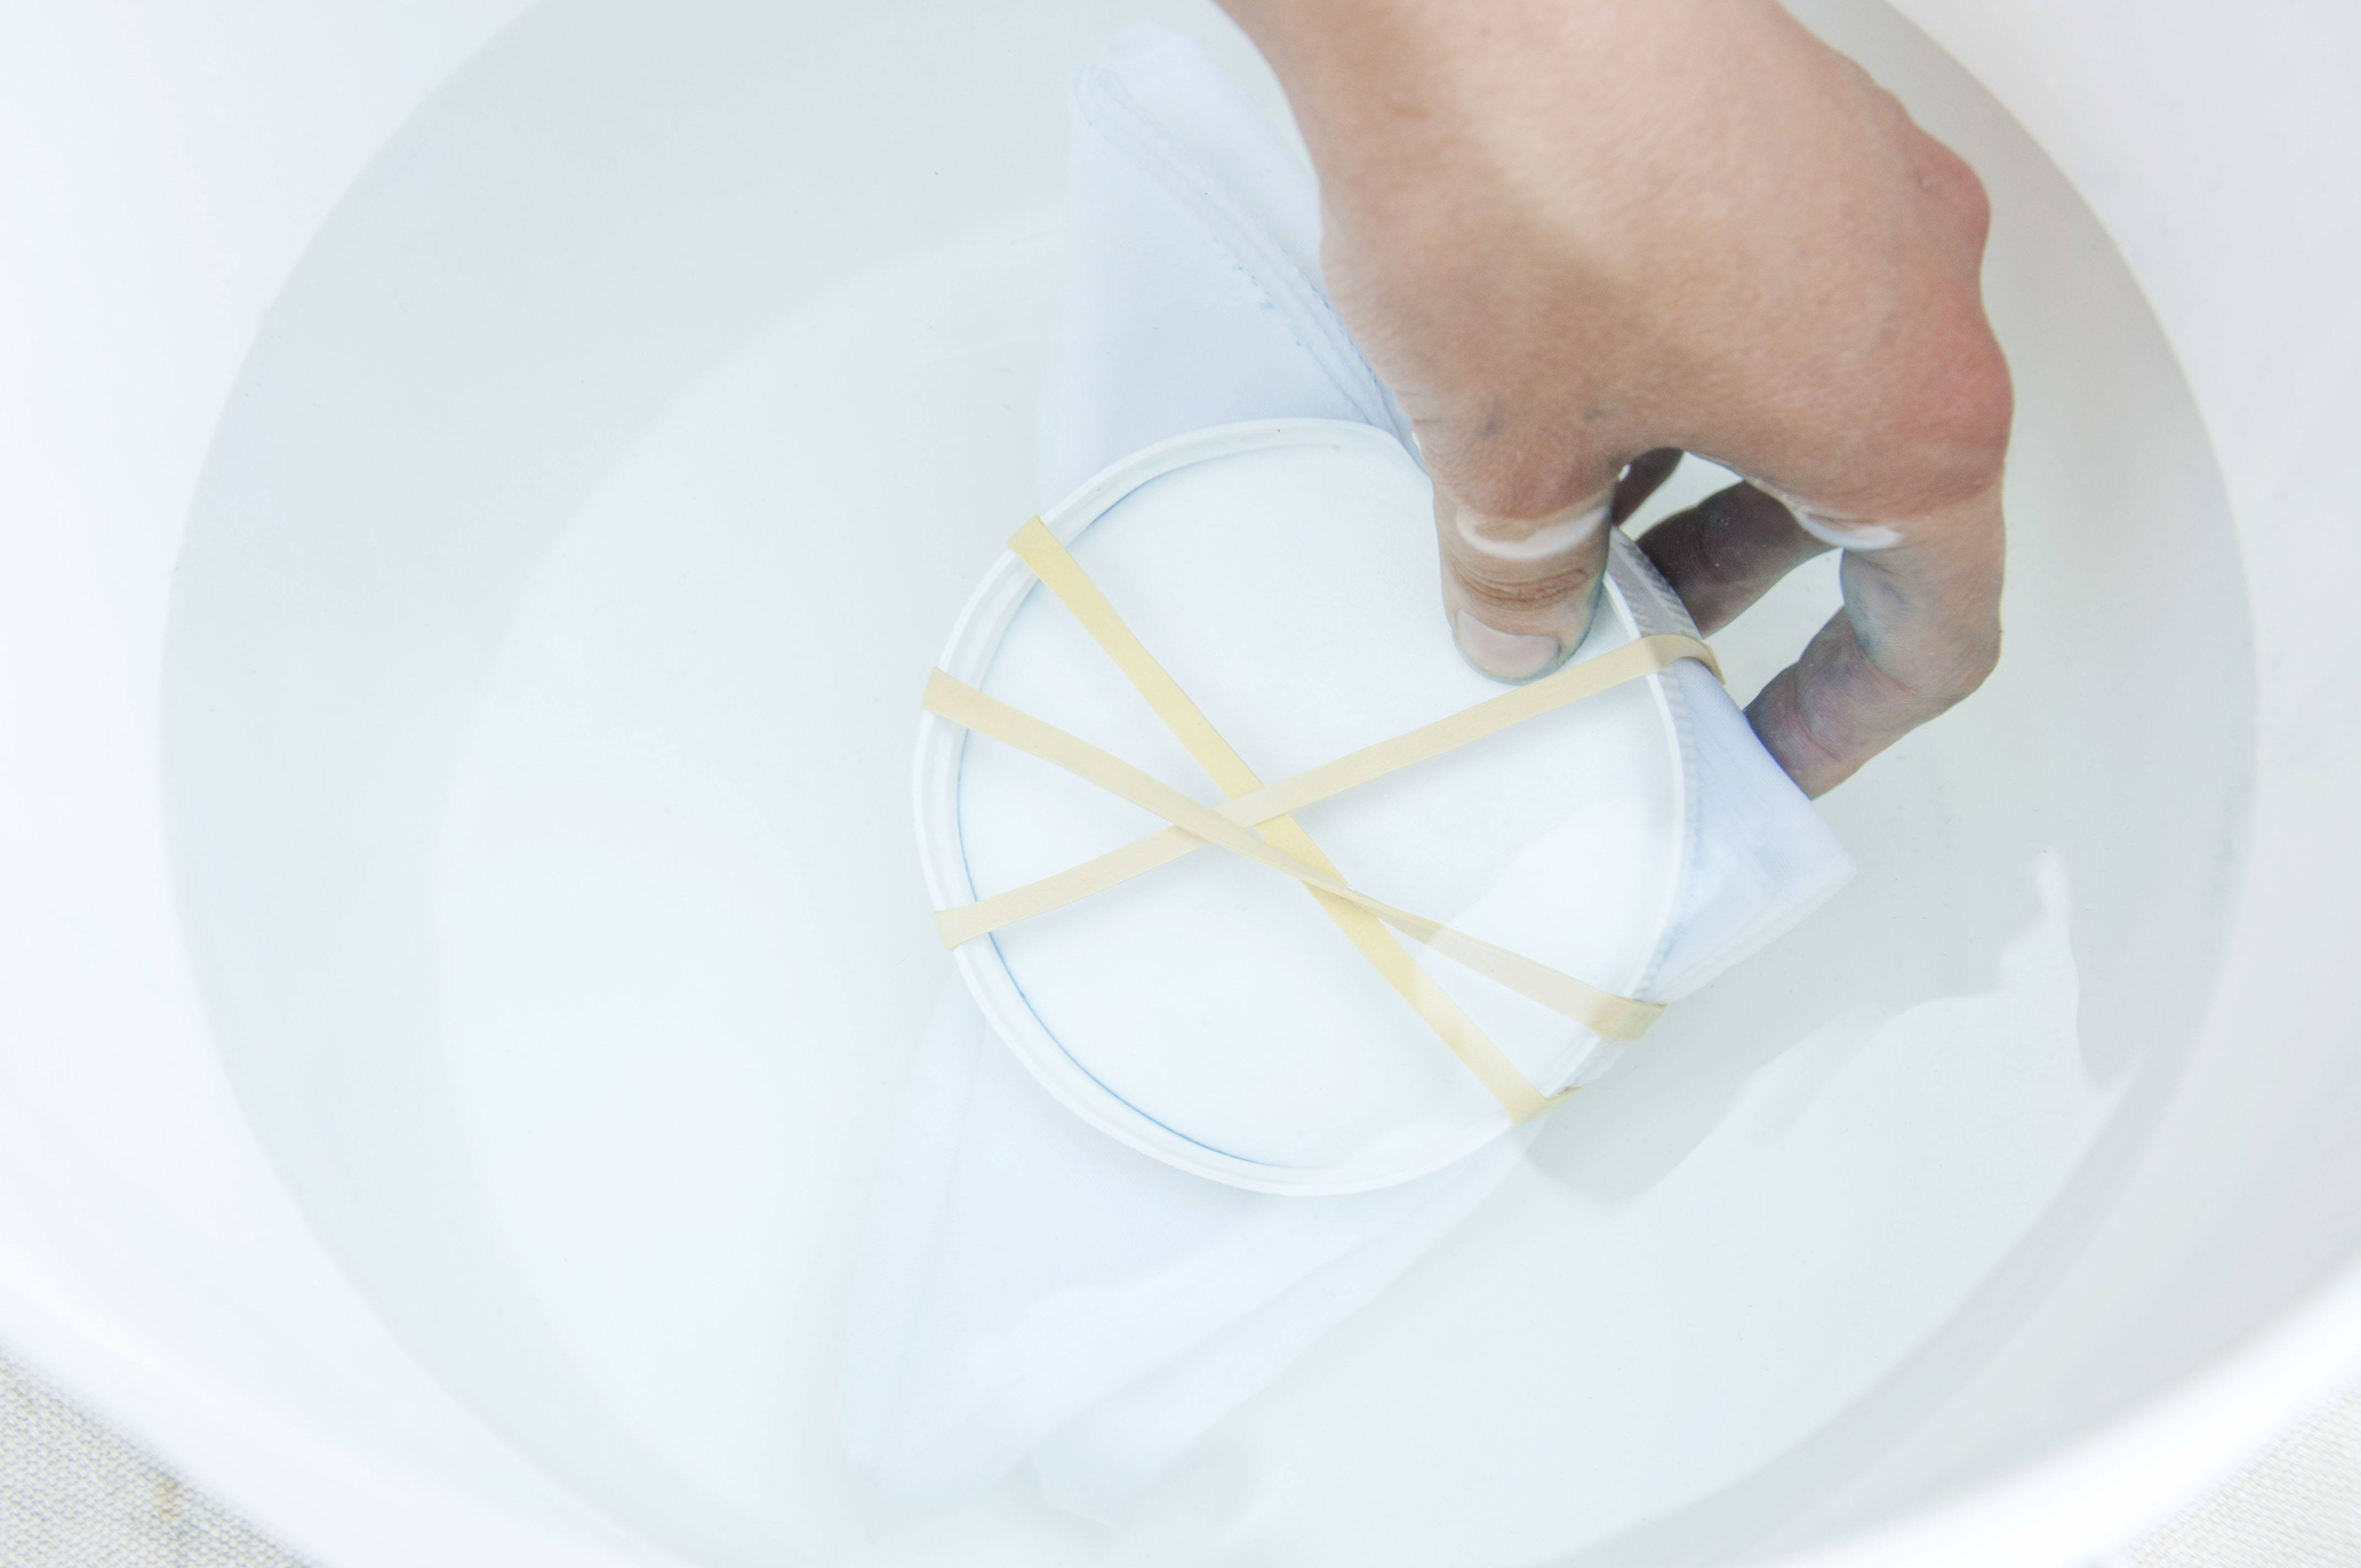
6. Dunk the sandwich into the water and soak it thoroughly
If you don’t wet it, the dye will stay on top of the fabric and wash out easily.

7. Make sure the fabric’s completely soaked, then remove it from the bucket
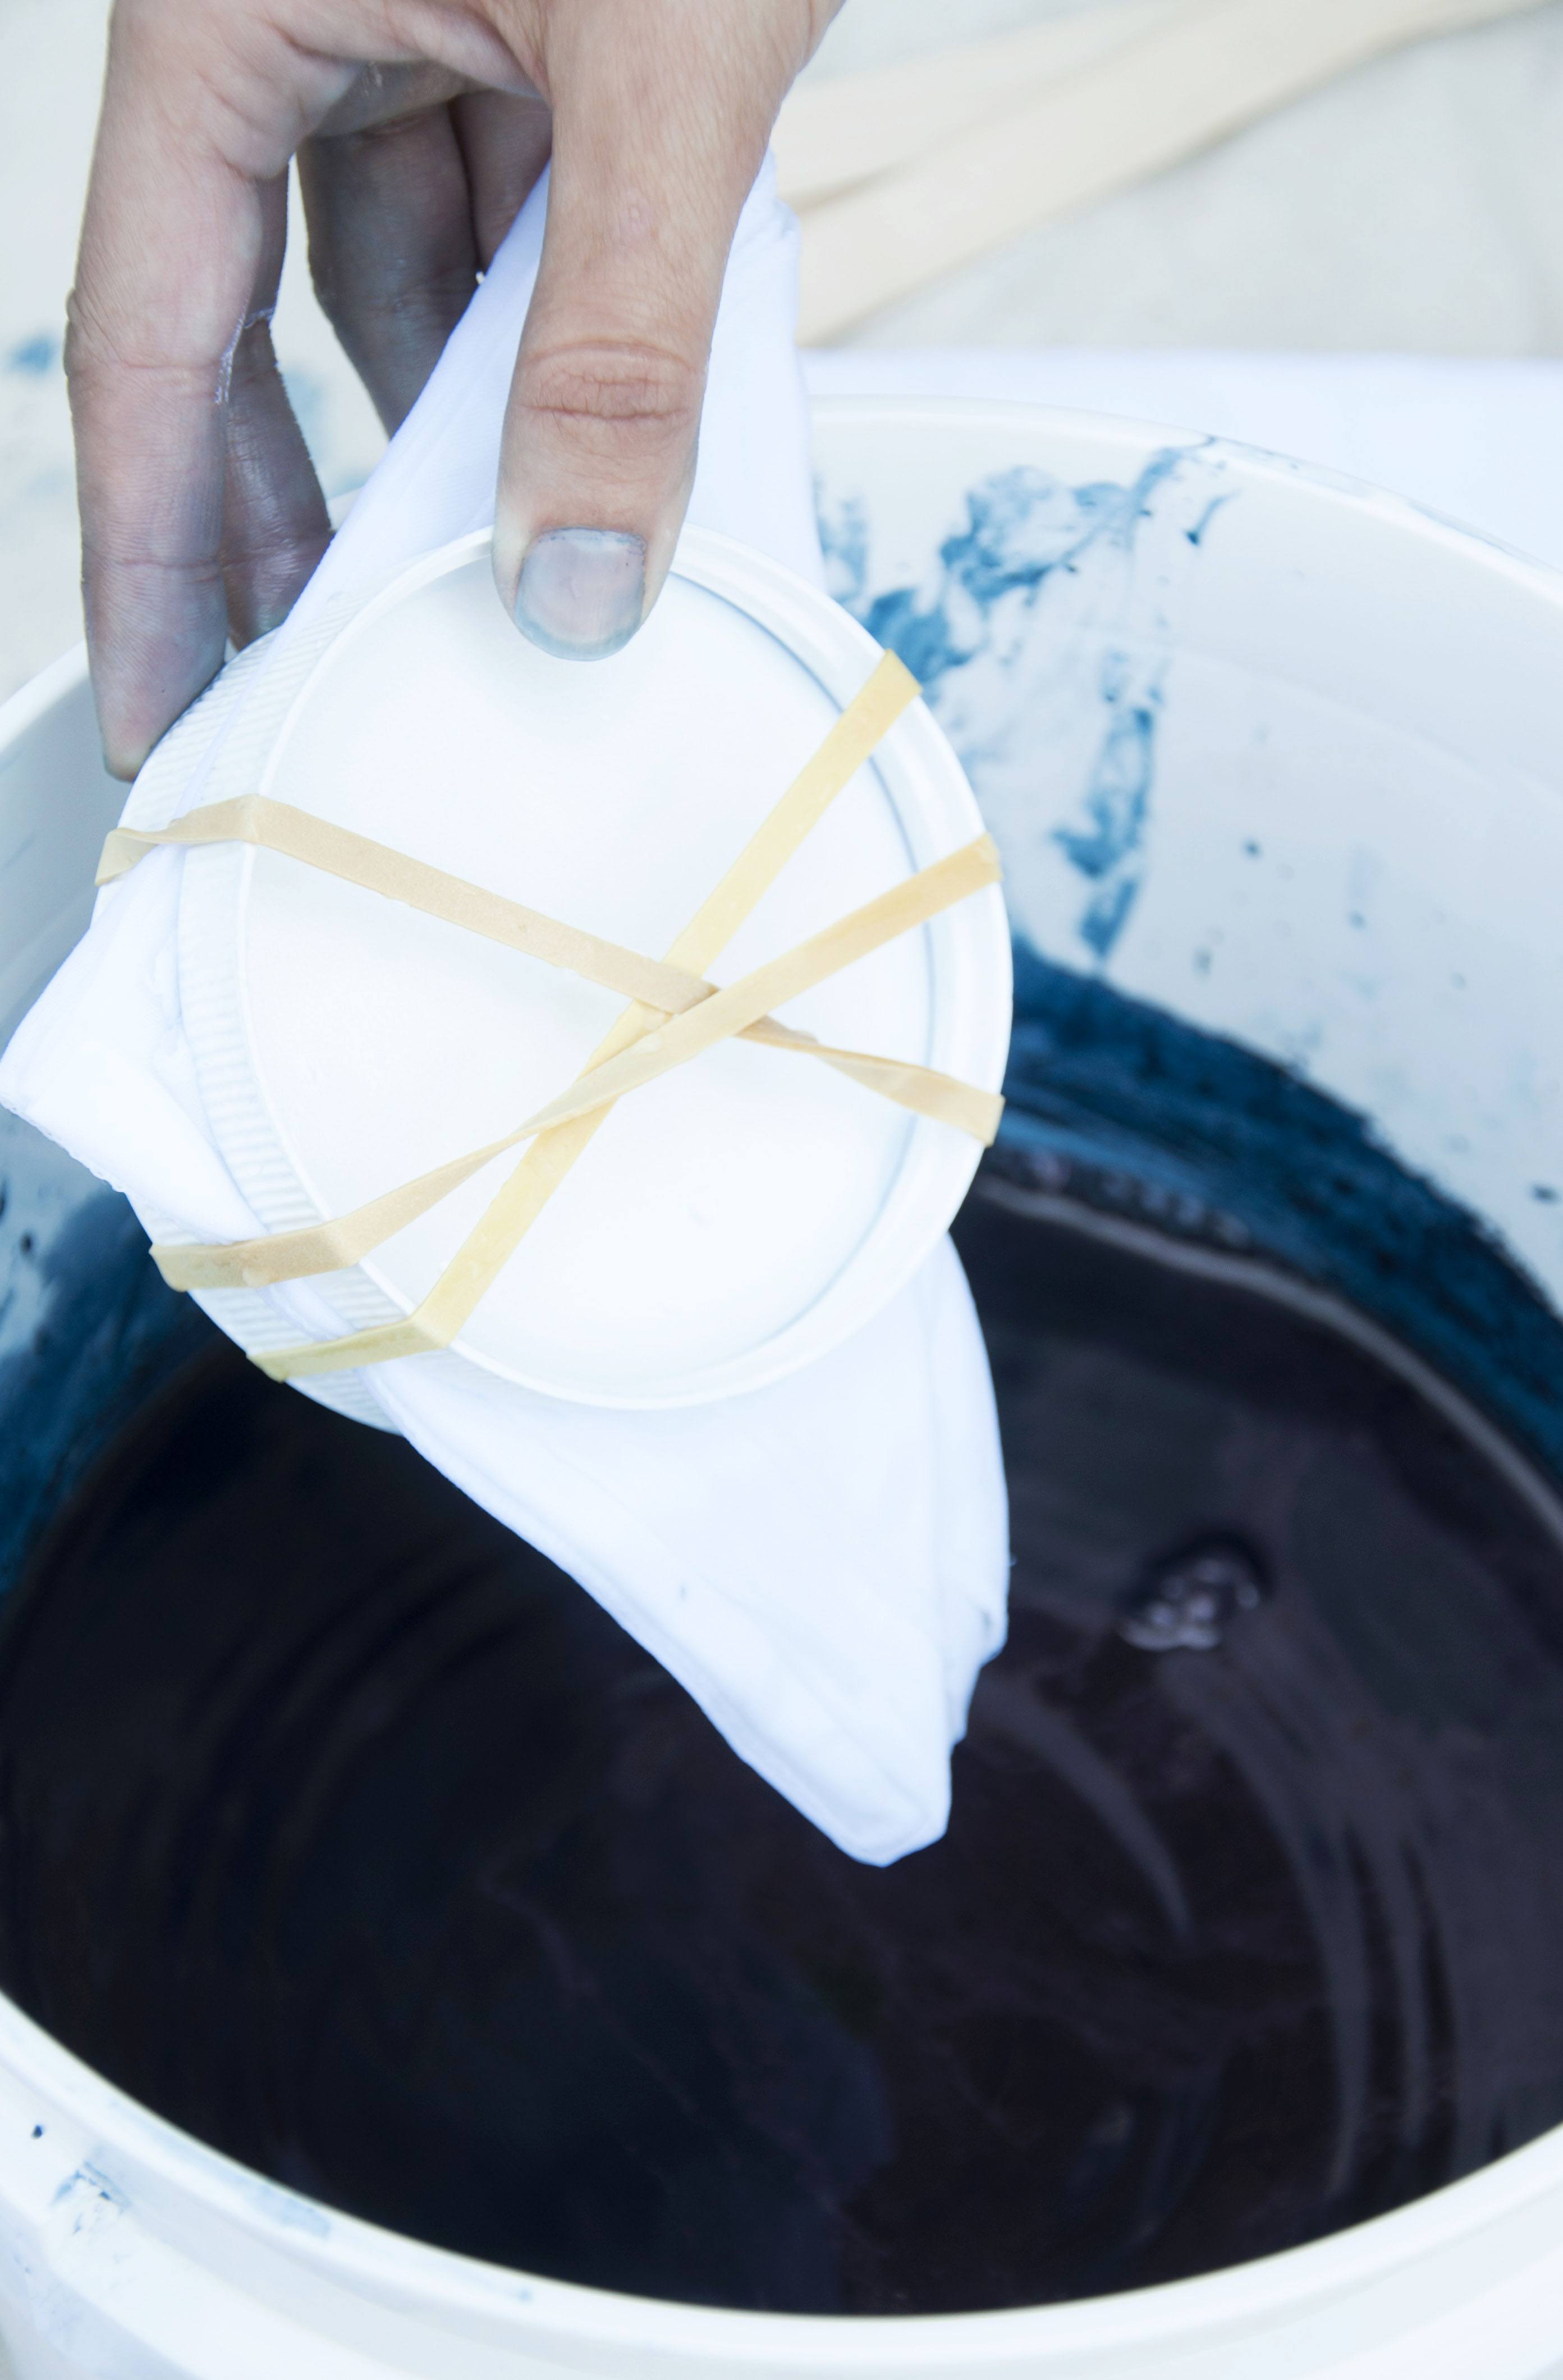
8. Uncover the indigo dye
If you’re choosing to use gloves, now’s the time to put them on. A film may have formed on top of the dye, but just move it aside. Immerse the sandwich into the bucket. The liquid will turn green—that’s how you know it’s an active indigo bath. Try not to splash because it introduces oxygen into the dye, which can kill the active ingredients.
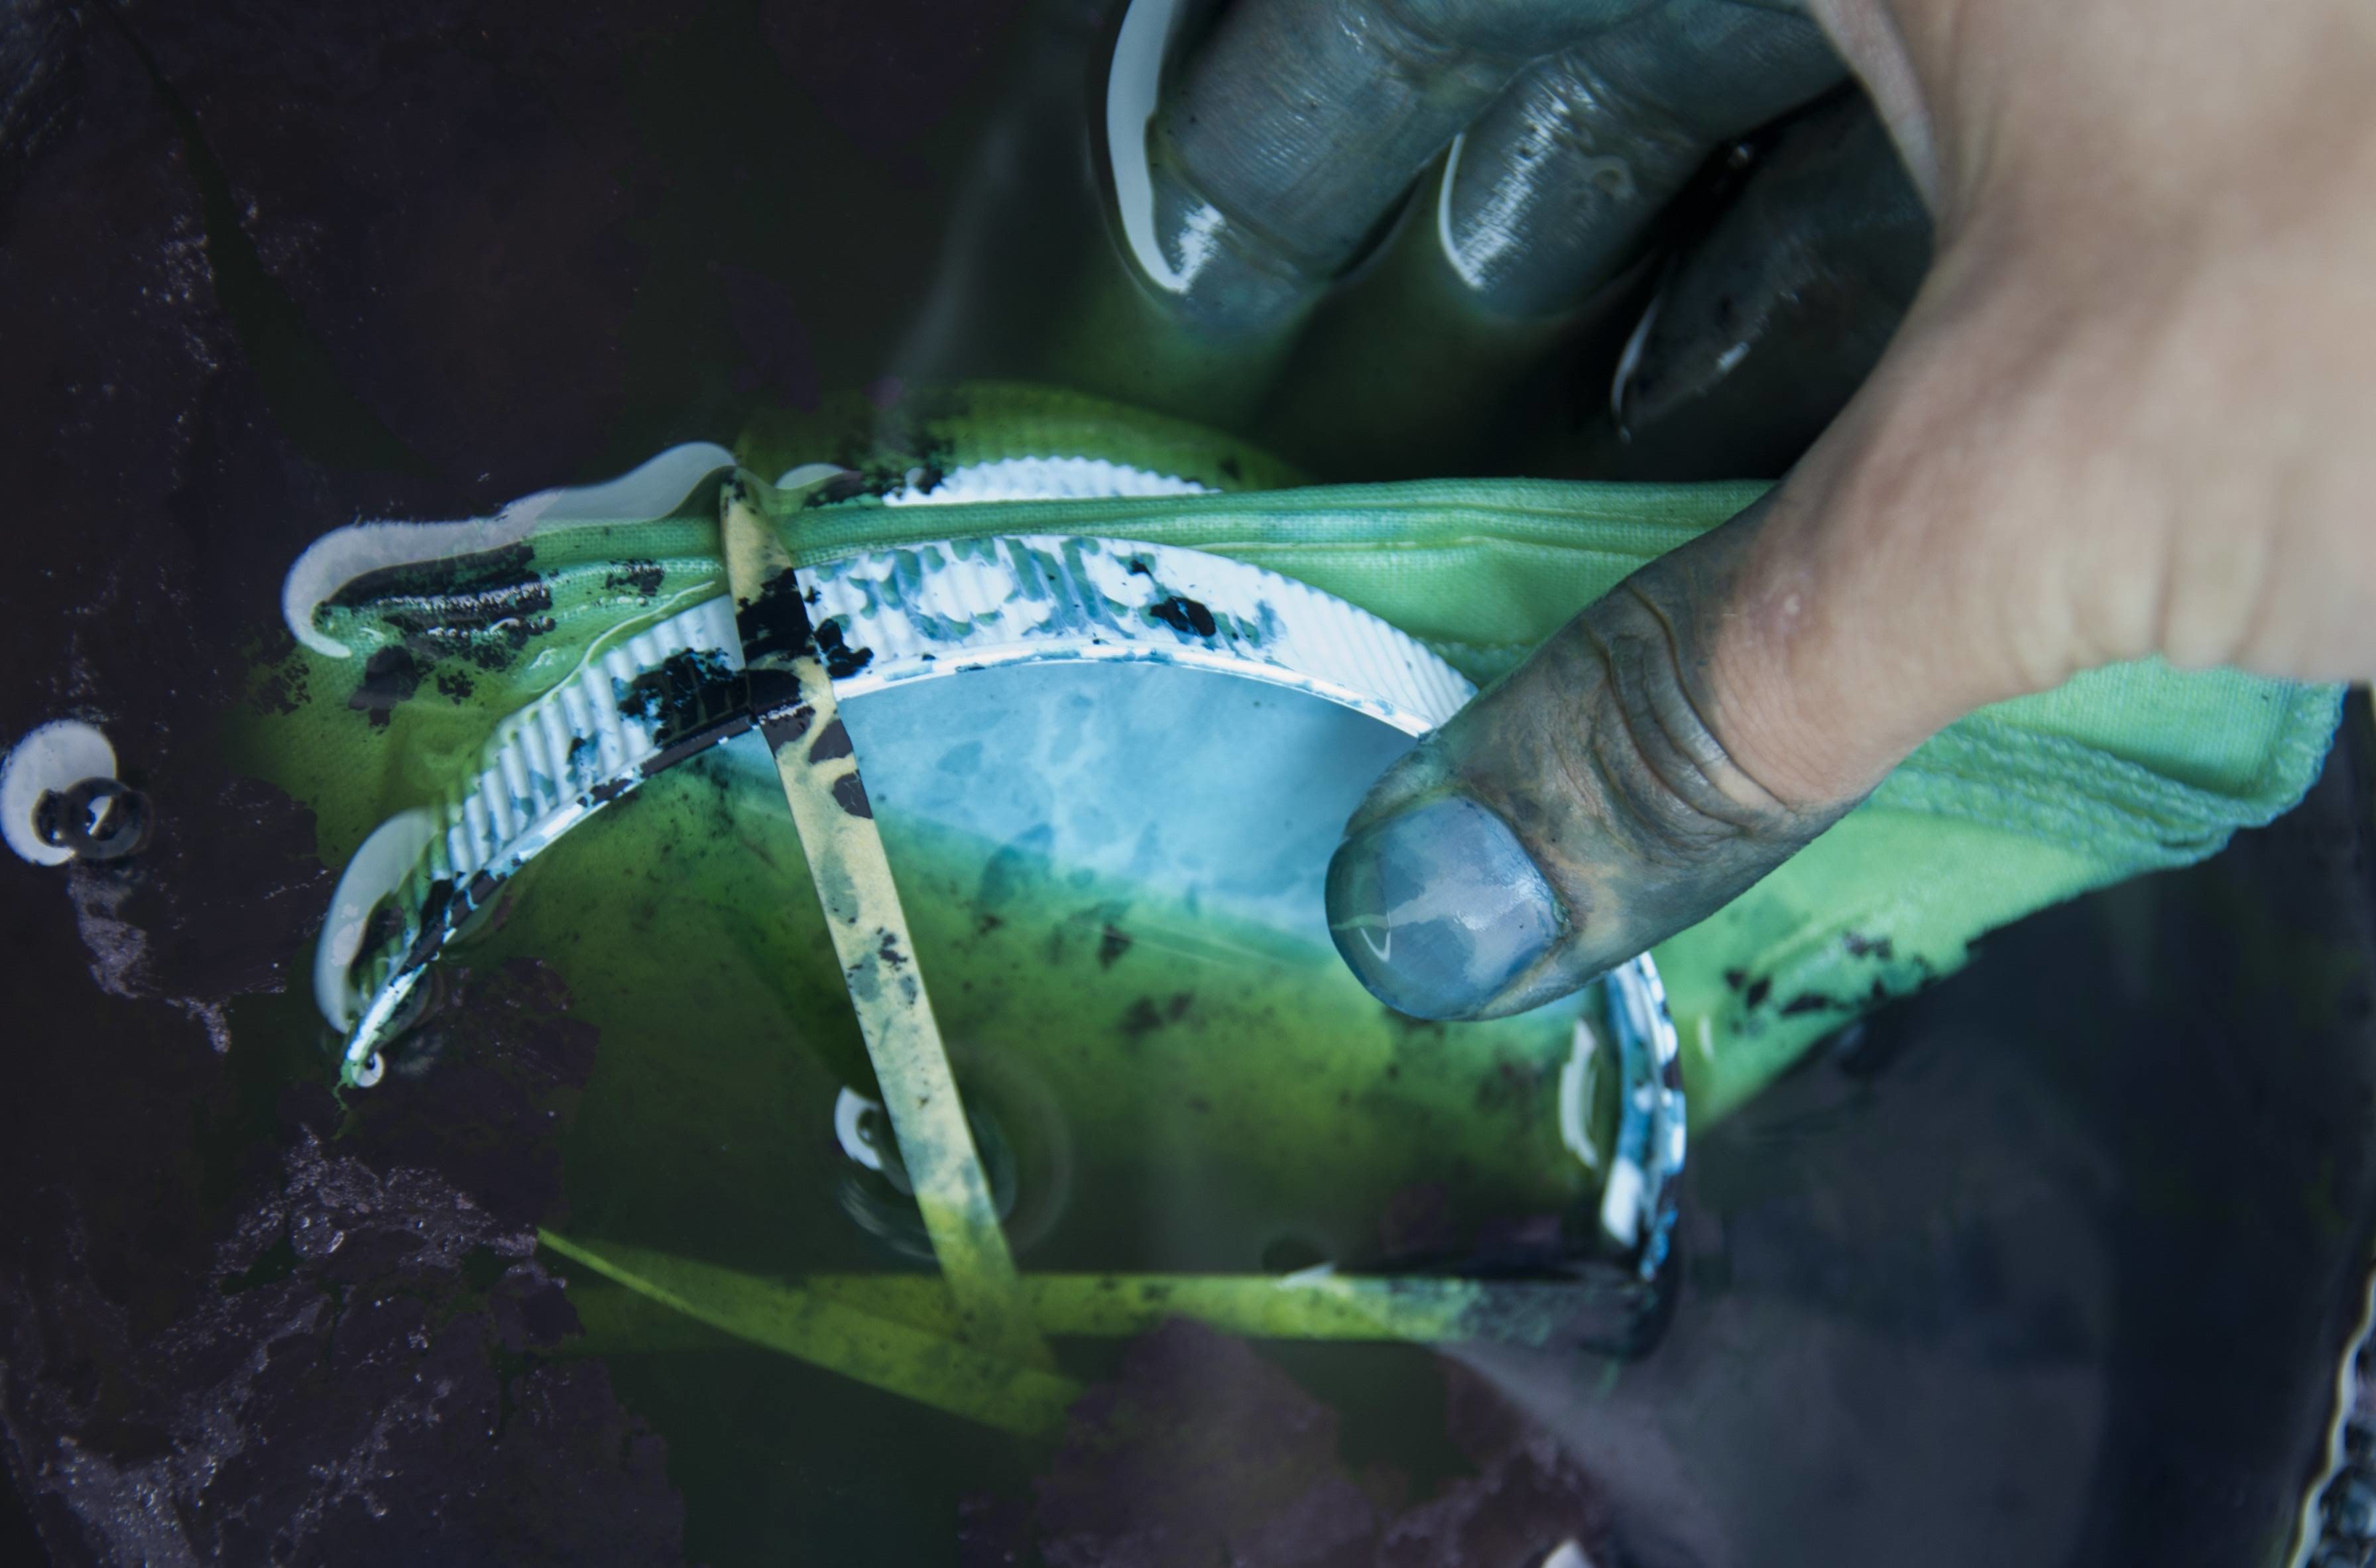
9. Carefully work the fabric when it’s submerged in the dye for even exposure
The longer you leave it in, the deeper the color will be.
10. As with the water, make sure you’re getting dye in all the exposed areas of the fabric so the color will be even
To ensure this, separate the corners and dunk them individually.
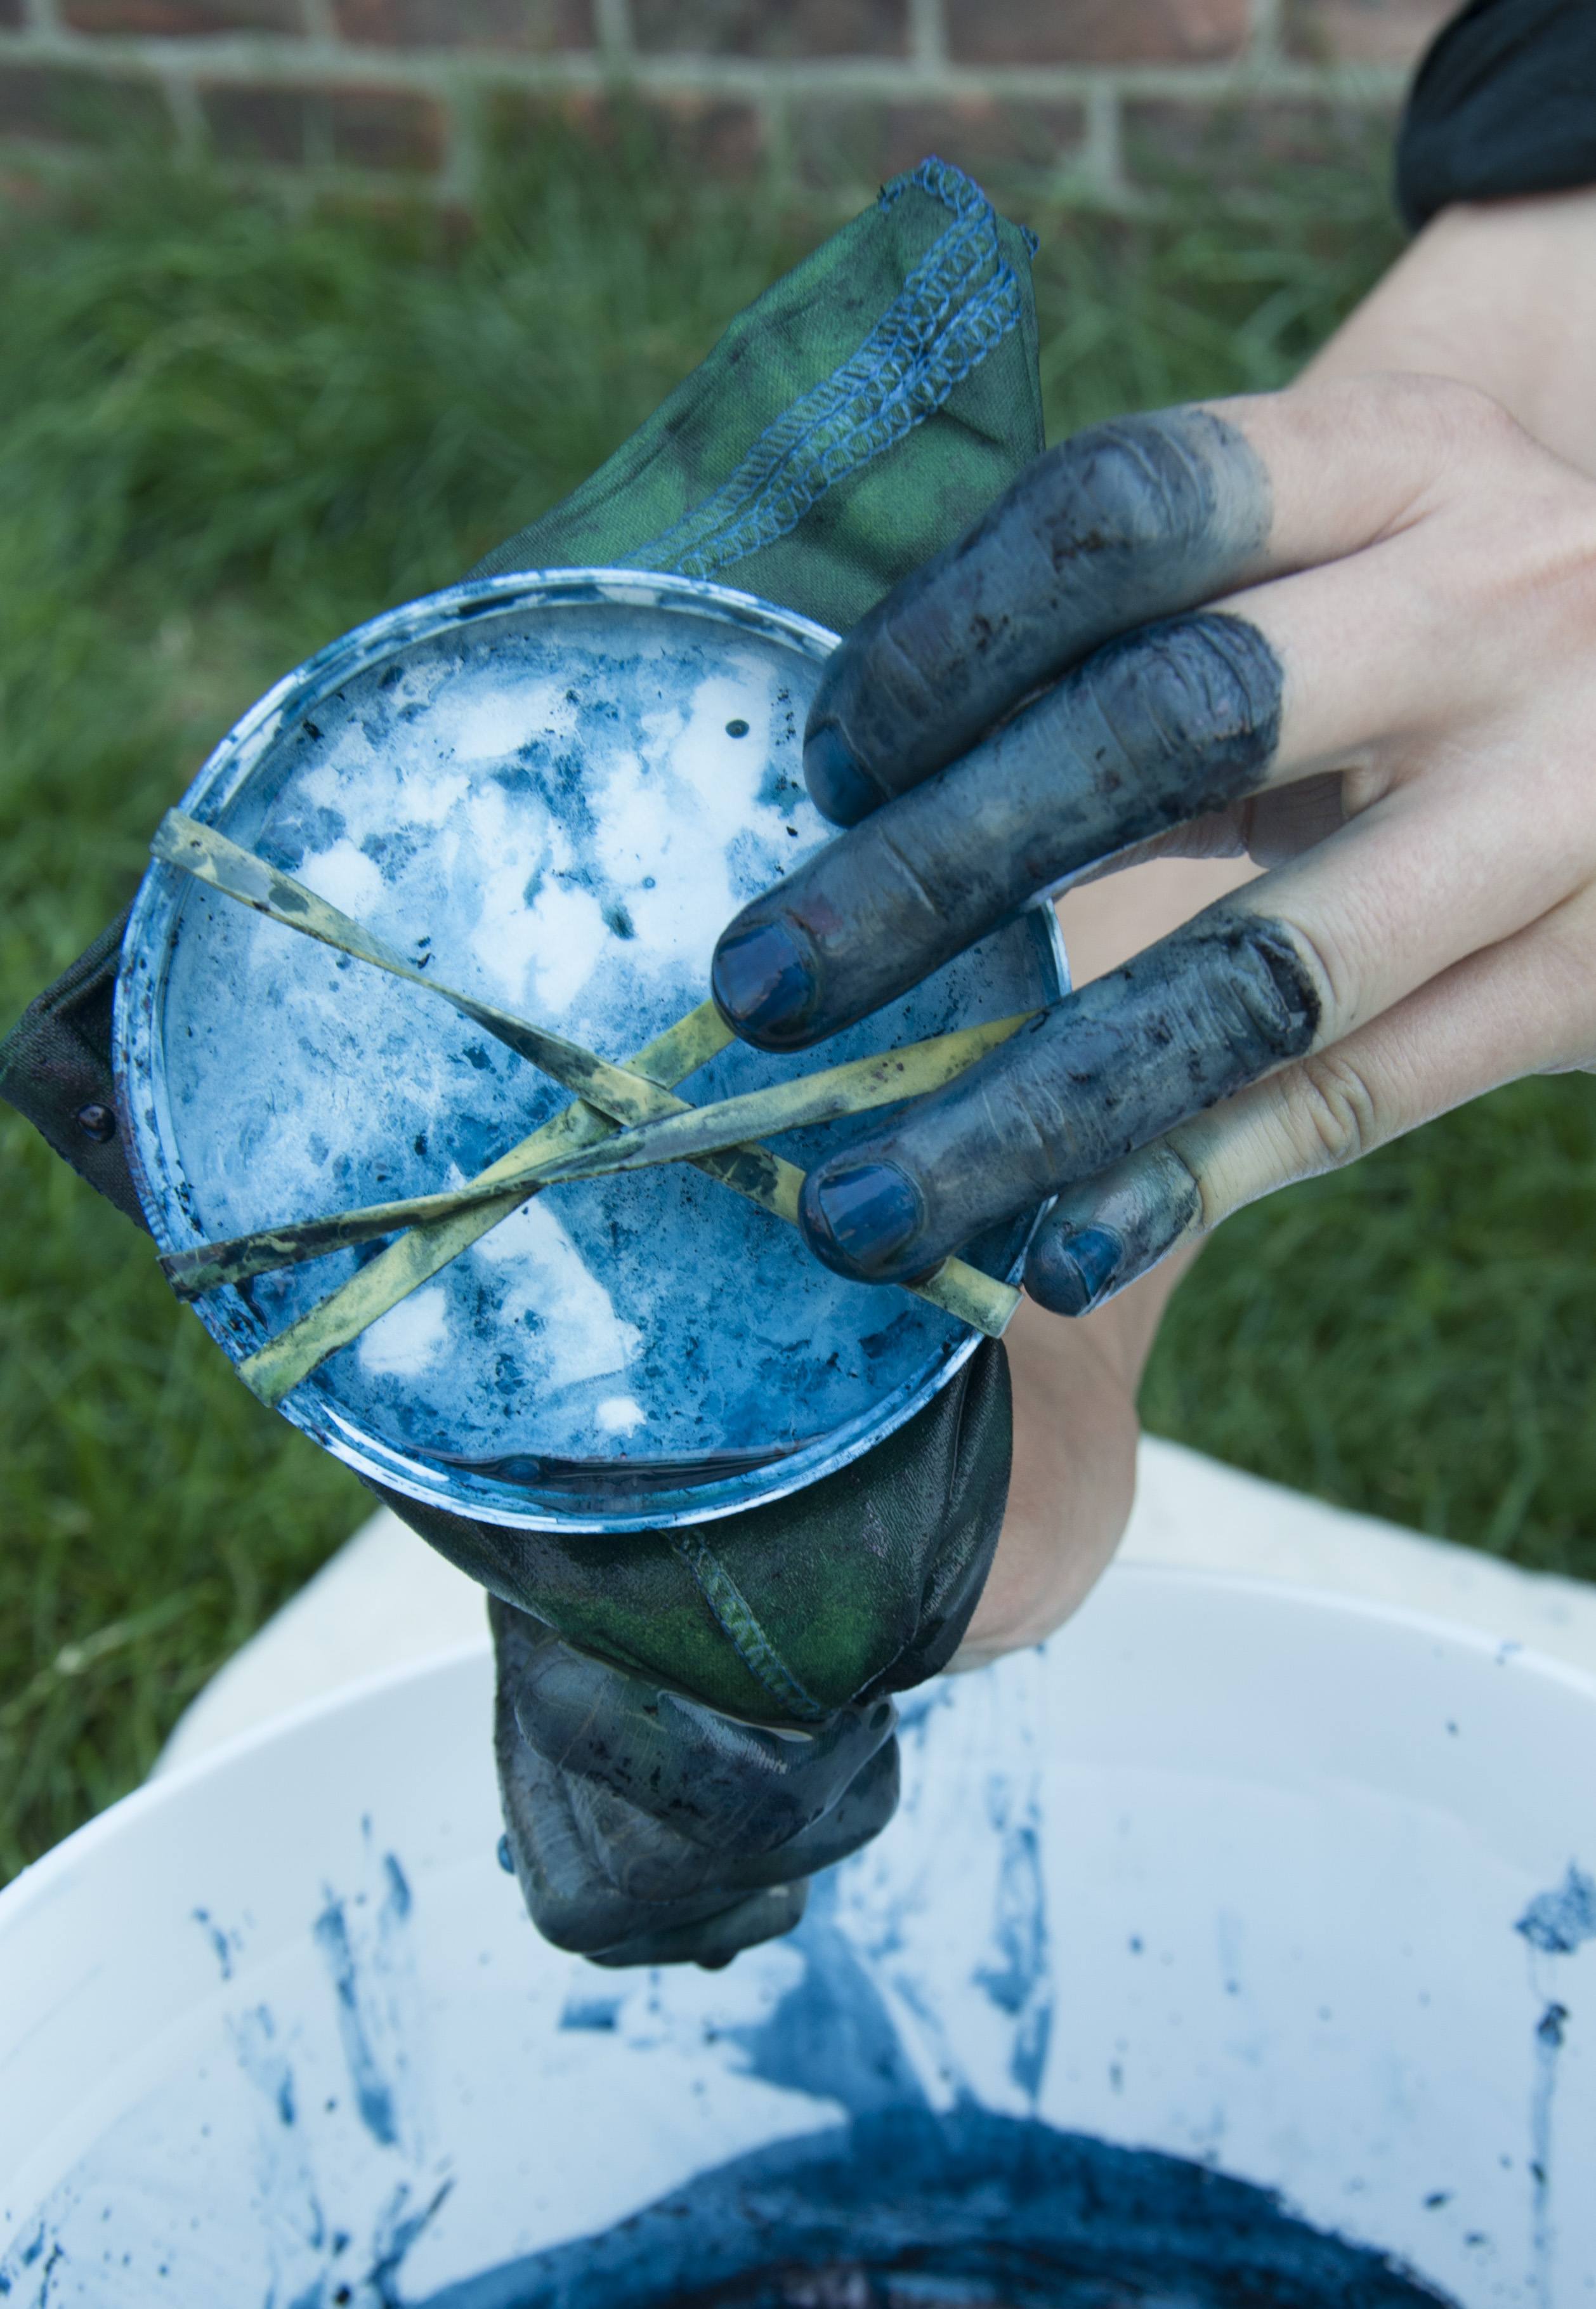
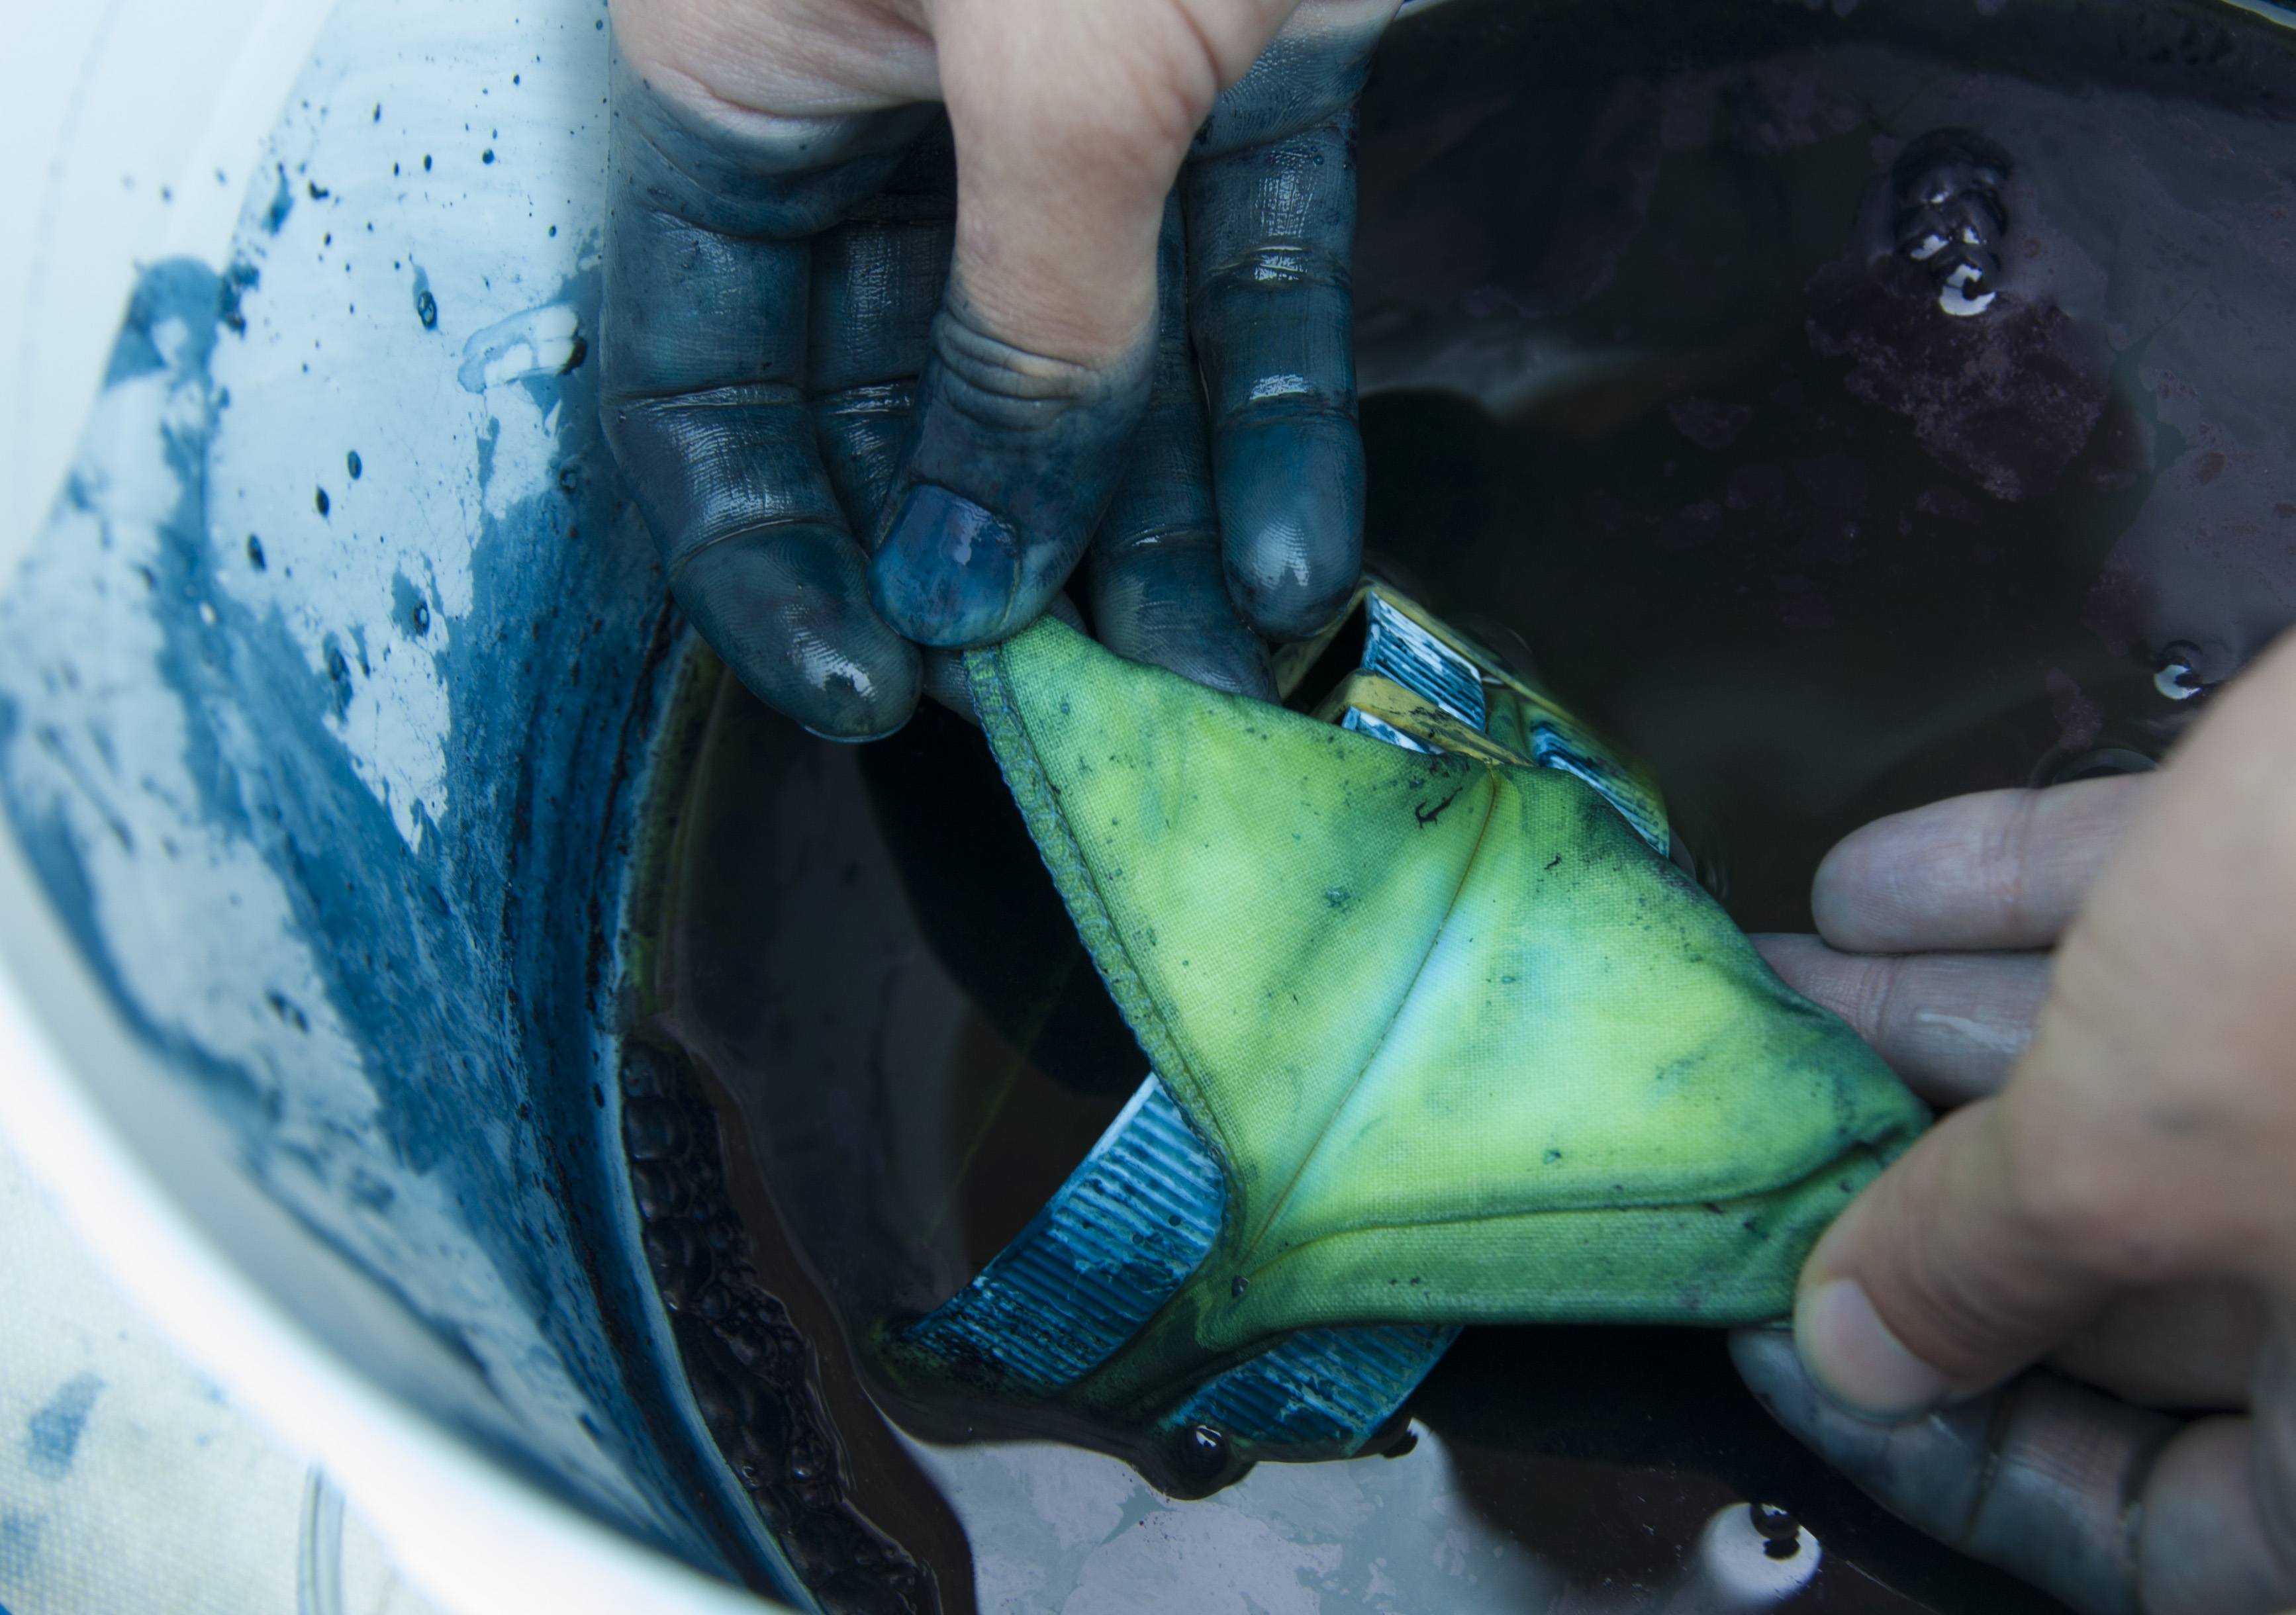
11. Once you’ve saturated your triangle to your liking, remove it from the bath
12. Let it sit while still folded up with the rubber bands and plastic lids
It’ll begin to oxidize and turn from a yellowish green to blue. Separate the corners as before to ensure an even oxidation—about 20 minutes total.

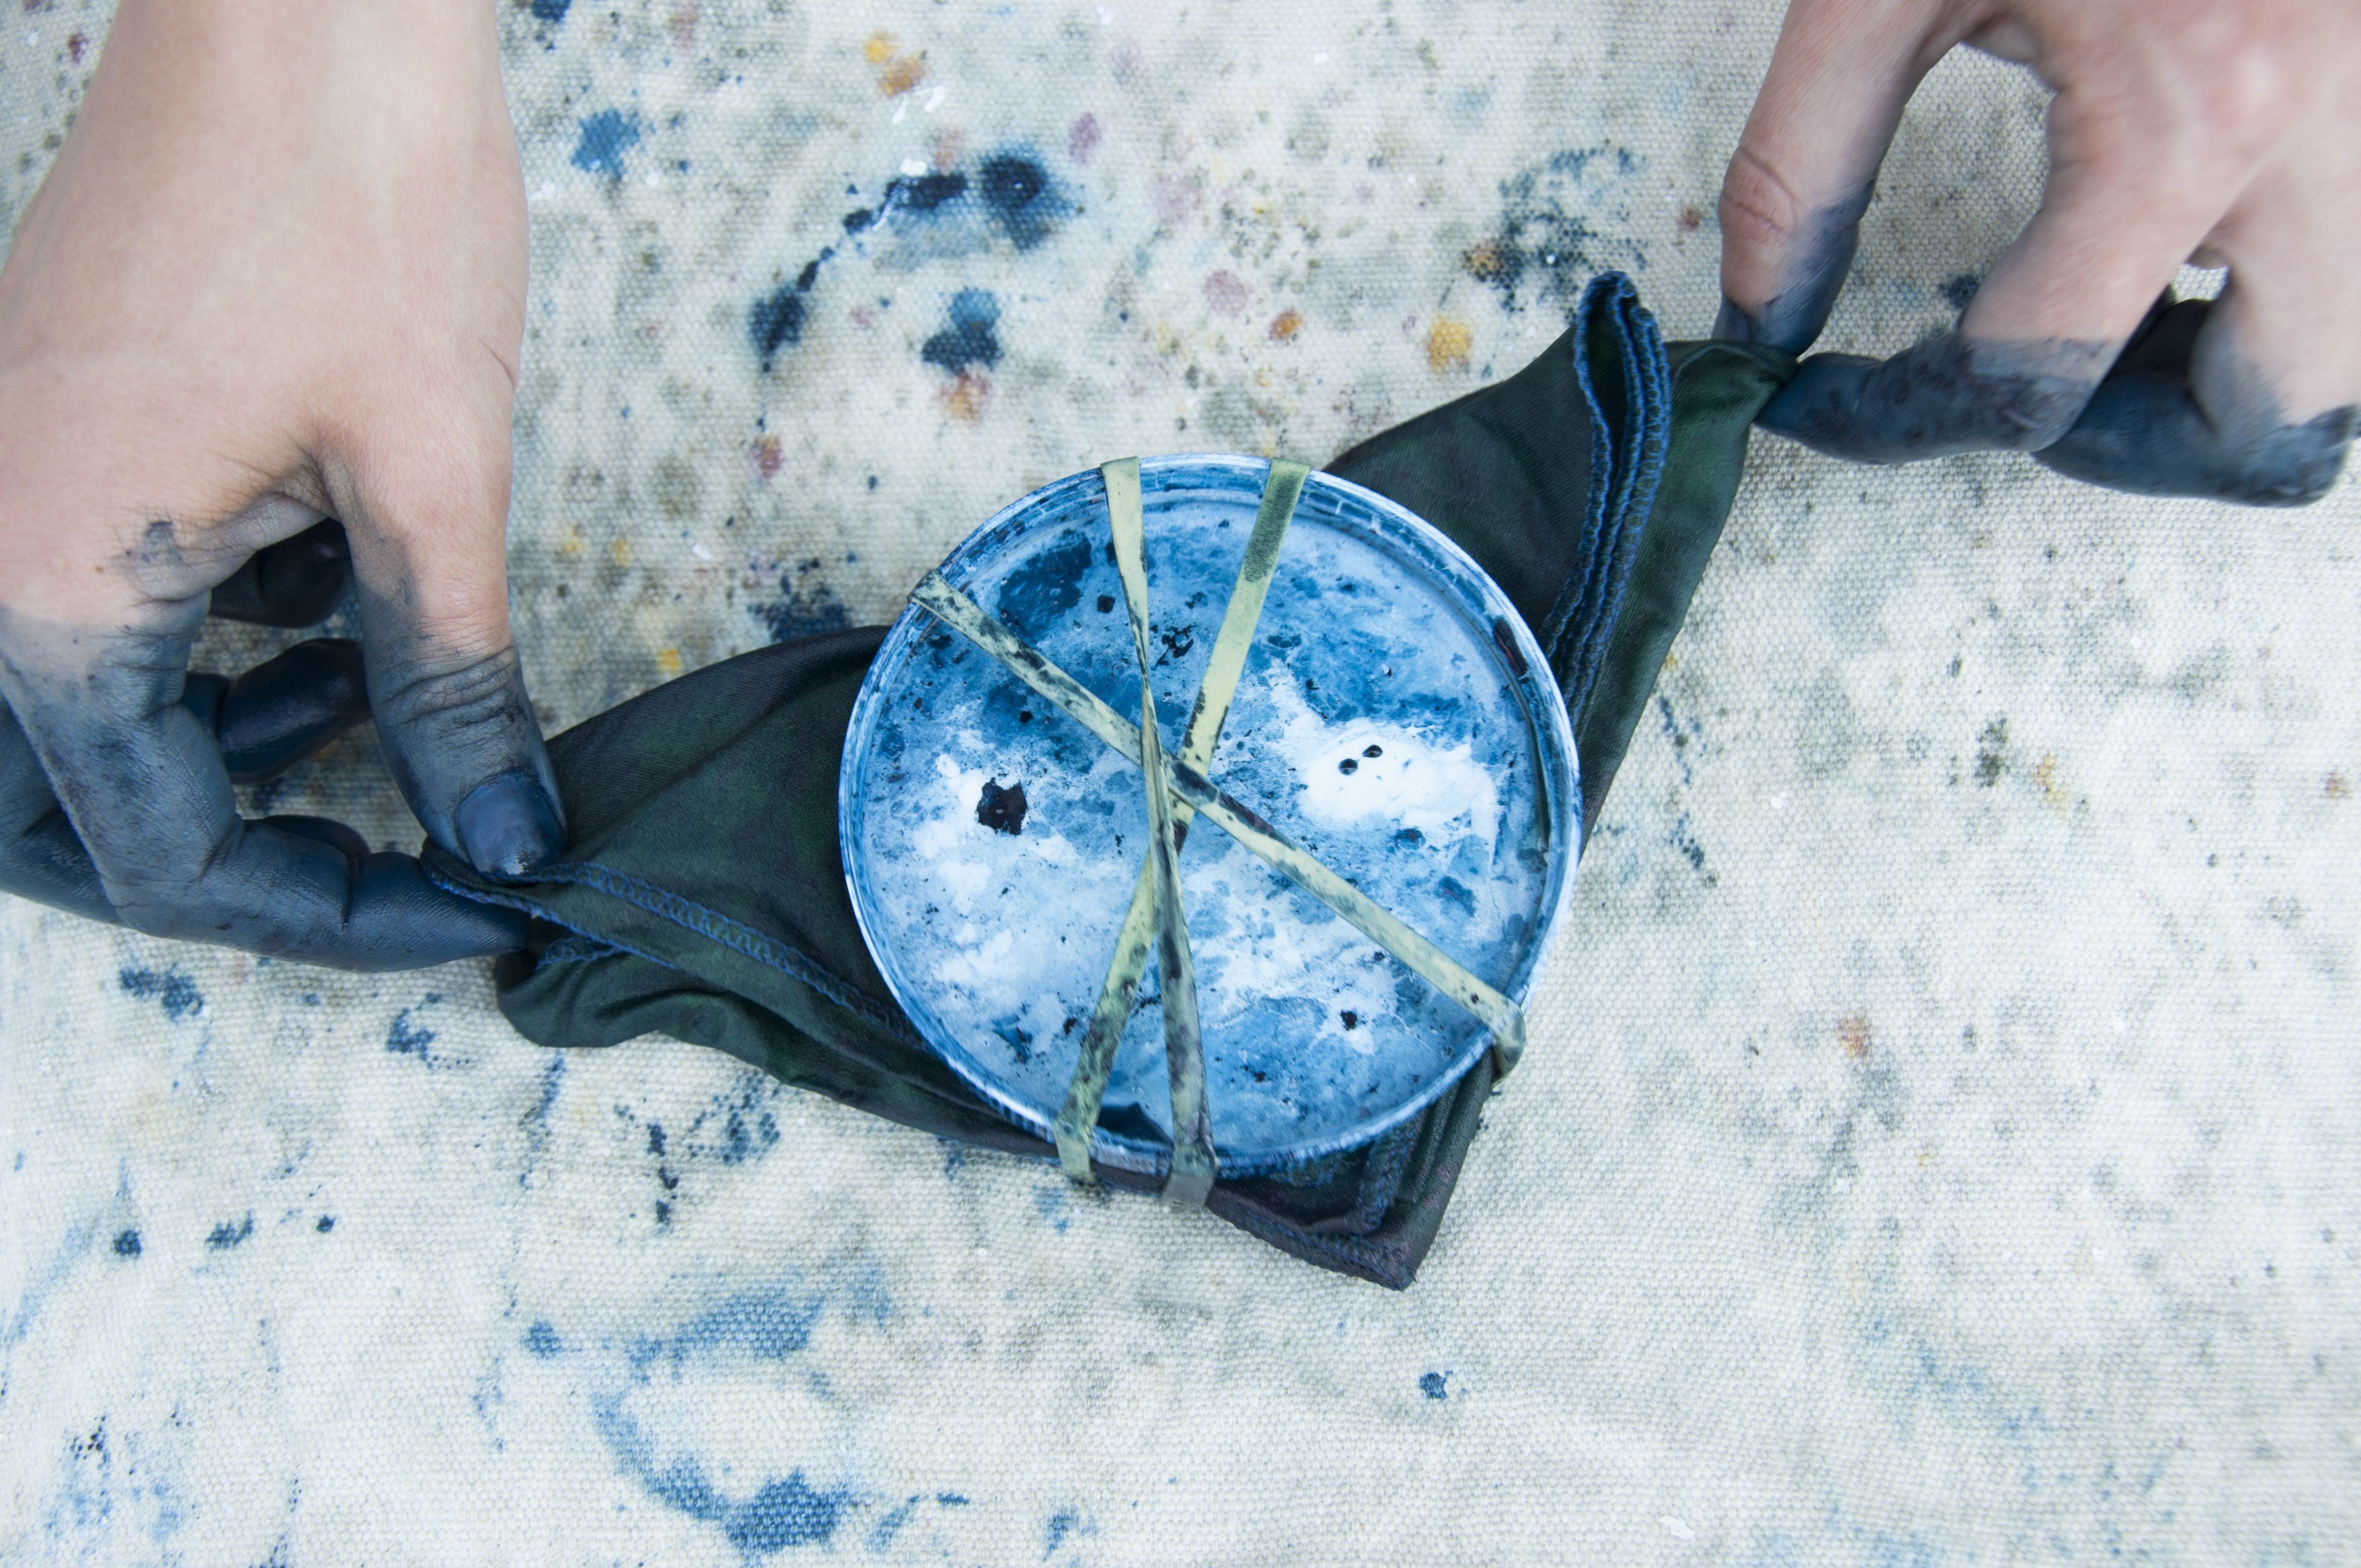
13. Remove the rubber bands

This is what it should look like
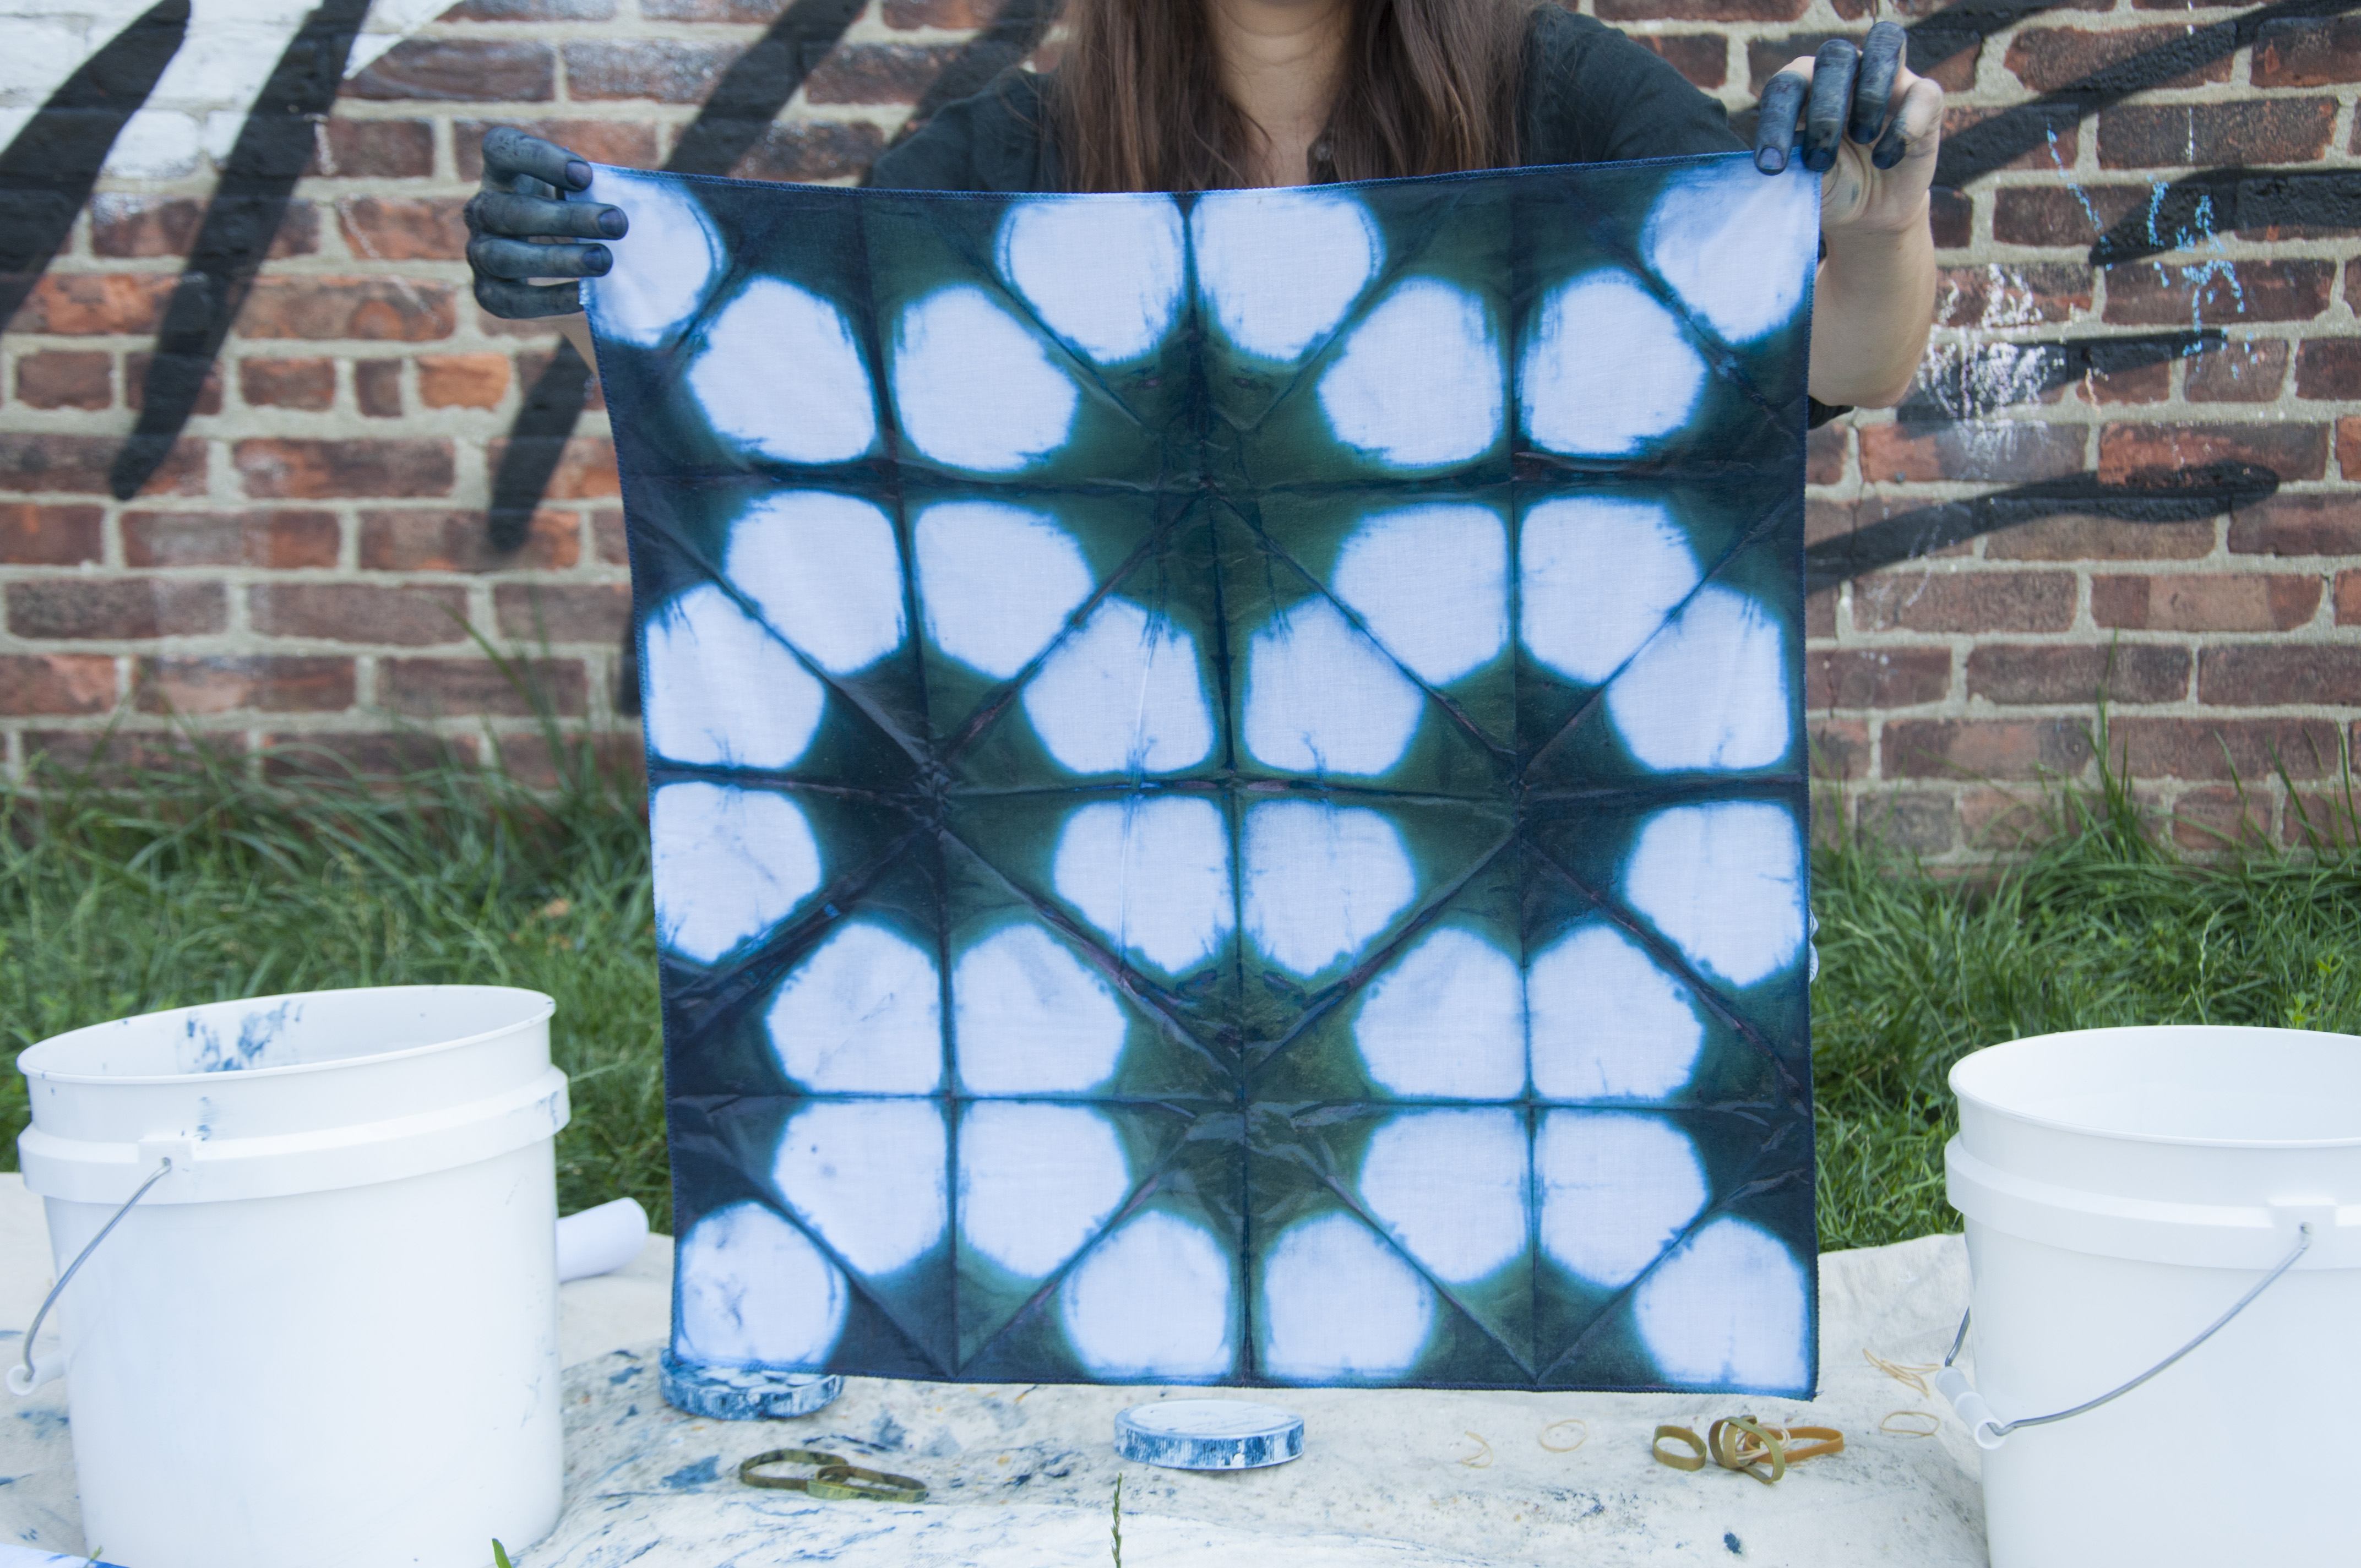
14. Gently unfold your fabric
Allow it to dry, then with warm water and that gentle detergent, handwash your cloth in a stainless steel kitchen sink or reusable tub. After it dries…voila! Bonus: After you’ve finished with the dye, if it’s still running green, you can seal the bath bucket with a tight lid and store it for several months.
While you’re switching up your sleep style, consider giving your bed a makeover and maybe adding a cool statement wall while you’re at it.
Sign Up for Our Daily Newsletter
Get all the latest in wellness, trends, food, fitness, beauty, and more delivered right to your inbox.
Got it, you've been added to our email list.


