3 Tricks to Easily Sculpt Your Face, According to a Top Makeup Artist
Celebrity makeup artist Katey Denno brings us easy contouring for beginners, which can be done using just one makeup product. Here's what to know.
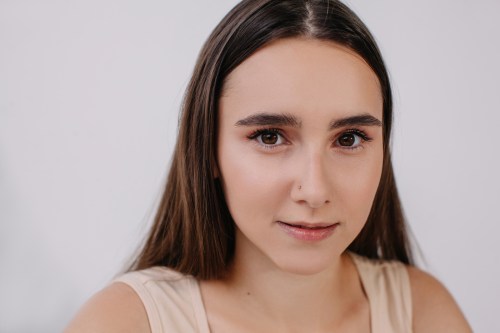
When you think about easy makeup looks, sculpting your face via a contouring palette doesn’t seem quite as attainable as something like beginner eyeshadow or a quick swipe of cream blush. But, according to celebrity makeup artist and head of makeup at CredoKatey Denno, sculpting your face with makeup doesn’t have to require a dozen steps done by an expert hand. All it really takes is three tricks to contour like a pro.
Contouring was originally invented for actors on stage to more easily emote for audience members. “Contour was for stage play so that people in the back of the playhouse could see actors’ expressions from afar,” says Denno. “They made it to outline their jawline, their cheekbones, and to show where each feature begins and ends to that the people in the back could see them.” The goal of contouring is to create an optical illusion that brings certain features forward and others inward, which is why contour application is a little different for everyone based on their face shape. Despite that, here are a few of Denno’s best tips for doing it right.
Easy contouring for beginners
1. Use a foundation or concealer
The most basic way to contour involves using a foundation that is darker than your own shade on three parts of your face (though Denno says that concealer can do the job if you’d rather not wear a foundation). “You want to get a foundation that’s one or two shades darker than your typical foundation color,” she says. “Take that deeper shade and apply it right underneath and along the jawline, then take a sponge and blend it. Do the same right underneath your cheekbones,” You can also add some along your hairline. Just be sure to use a product that’s the same texture of the coverage on the rest of your face (stick with a powder if your foundation is powder-based, or a cream if you use a cream-based foundation or concealer).
2. Blend with a brush
If you don’t have a contour brush, Denno recommends squeezing whatever brush you have to make it more narrow for easier blending. “This makes it a more narrow placement tool where you can blend right on the plane where you want the concave to go,” she says. Blend enough so that it looks really subtle so that it’s truly an illusion. “Nobody needs to know that you have contour on,” jokes Denno.
3. Play with highlighter
For an added contouring effect, Denno points out that the opposite of contour would be to highlight, so you can apply a foundation or concealer that’s lighter than your everyday option in places you want to move forward in space. “You can highlight with a foundation or concealer that makes certain parts of your anatomy come forward.” For example, you can take a little bit of highlighter down the bridge of your nose, on your Cupid’s bow, underneath your eyes, and on top of your cheekbone. “That brings some of your face forward without the use of a shimmery, glittery highlighter.”
Want even more beauty intel from our editors? Join Well+Good’s Fine Print Facebook group (and follow us on Instagram!) for must-know tips and tricks.
Sign Up for Our Daily Newsletter
Get all the latest in wellness, trends, food, fitness, beauty, and more delivered right to your inbox.
Got it, you've been added to our email list.
