Our editors independently select these products. Making a purchase through our links may earn Well+Good a commission
I Got a Manicure Every Week Until COVID-19 Hit—Here’s the Secret to Doing Your Own Nails At Home
In my former life (pre-COVID), I would get weekly manicures in a nail salon. Now? I'm sharing the two home manicure tools that make my DIY manis A-plus.
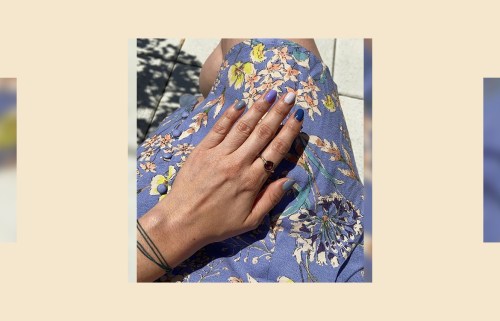
In my life B.C. (before COVID), I had my beauty maintenance appointments scheduled like clockwork: a brow shape-up every five months, a root dye every five weeks, and—the most frequent—a manicure every week. The forced break-up with my nail technician led me to be resourceful, but after countless DIY (laughable/failed/not-as-advertised) attempts, I’ve become a pro at doing my own nails. For everyone who feels as though they’re working with two left hands when painting their nails, I’m sharing the home manicure tools that make DIY treatments a cinch.
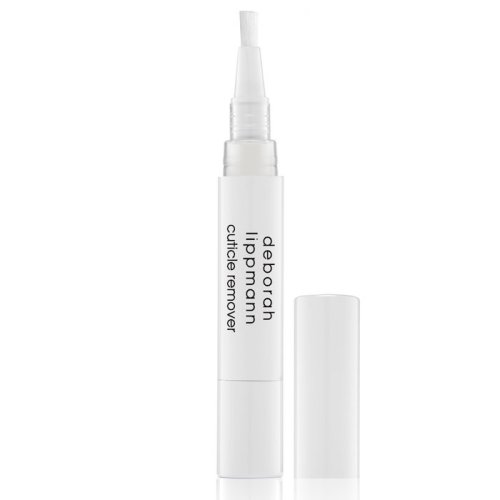
I’ve found that you don’t actually need a full army of nail gadgets for a professional-looking manicure. Besides the nail polish itself, there are just two mani tools you need to reach for to make your DIY manicure last: the Deborah Lippmann Cuticle Remover Pen ($24), and the JinSoon HyperCare Cuticle Pusher + Reducer ($32).
Shop now: Deborah Lippmann Cuticle Remover Pen, $24
Manicure aficionados know that dealing with cuticles can be tricky. It’s something that I used to never attempt on my own—the cuticle cutting tool looks kind of like a finger-sized torture device, and it feels way too easy to snip off too much of your skin. But every nail expert will tell you that it’s best to push your cuticles back rather than cut them (since your cuticles are there to protect your hands from bacteria and other gross outer elements that can seep in). To do this smoothly, the Deborah Lippmann Cuticle Remover Pen delivers lanolin oil to gently exfoliate dead skin buildup around your nail, which you swipe on in the easiest-to-use click pen stick.
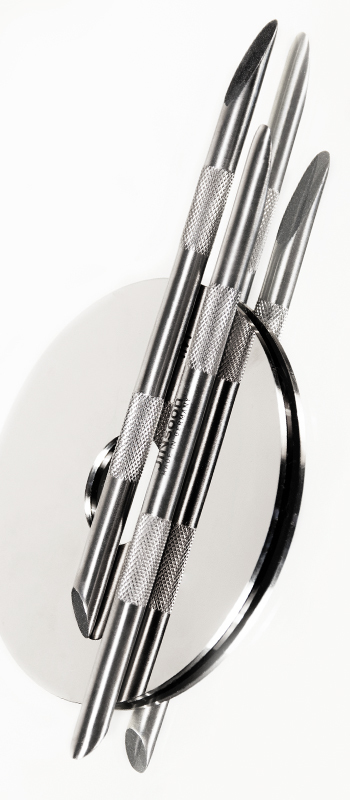
Shop now: JinSoon HyperCare Cuticle Pusher + Reducer, $32
After applying the milky remover gel, grab the JinSoon cuticle pusher tool to prep your nail beds for polish. There’s no other cuticle pusher like it: Jin Soon Choi, founder of the salon and nail-care brand (and long-time nail expert), created this one to combine the sloughing effect of a pumice stone with the precision of a regular metal tool, but used ultra-fine diamond particles in place of pumice so that it’s more gentle. The two ends are designed at different angles and lengths, so you can choose the short angle for thick cuticles or the longer side for soft ones. And you simply push it in short strokes along your nail bed until they’re all nice and smooth.
Then it’s the fun part. Apply a base coat (I like the Zoya Anchor Base Coat, $10), then—slowly and carefully—your color polish. I find that the sweet spot for vibrant pigment is two layers, just be sure to wait about a minute between each. As for painting your dominant hand’s nails, I know it’s notoriously challenging… but I promise that it gets better with practice (and by going slow). After the polish, seal it all in with a top coat—I love the JinSoon HyperGloss ($22) for a speedy dry—and you’re as good as new. Now I just have to figure out how to do my own nail art.
Oh hi! You look like someone who loves free workouts, discounts for cult-fave wellness brands, and exclusive Well+Good content. Sign up for Well+, our online community of wellness insiders, and unlock your rewards instantly.
Sign Up for Our Daily Newsletter
Get all the latest in wellness, trends, food, fitness, beauty, and more delivered right to your inbox.
Got it, you've been added to our email list.
