An esthetician shares the basics on how to gua sha like a pro
Ever wondered how to gua sha without leaving red marks up and down your face? Shardae Boyce, licensed ethetician at Heyday shares her insider tips.
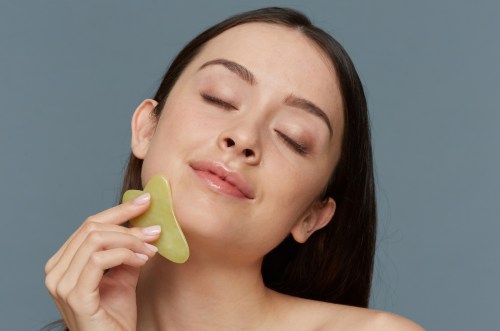
Though you might still be wondering how to pronounce it, you’ve heard about gua sha and all its reported muscle-soothing, glow-inducing benefits (it’s gwa-sha, btw). But do you know how to perform the technique properly to get the biggest skin boost—without turning your face into a tomato?
In case you could use a crash course, Shardae Boyce, licensed esthetician and skin therapist at Heyday, shared the insider secrets—AKA the stuff us skin-care civilians don’t know—on how to gua sha the right way at our recent Wellness Collective event with Athleta.
Boyce is known for her expertise in caring for people’s complexion (her nickname is literally the “glow giver”), and she gushes over gua sha. “It’s like an eraser, but to rid your face of fine lines and wrinkles,” she says. “It’ll become your best friend.” Who needs the fountain of youth when you can keep one of these beautifully colored tools (they’re usually made of jade or rose quartz) in your own bathroom?
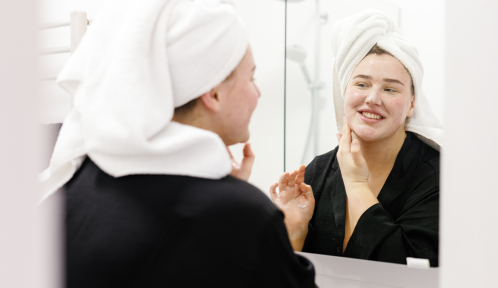
Okay, now for the fun part. Boyce walked us through step-by-step directions on how to give yourself that coveted glow, and she recommends starting with a clean and hydrated face and neck. To hydrate, generously apply a face oil or moisturizer so that the tool will glide smoothly over your skin, rather than pull at it.
This Parisian Skincare Brand Is Launching in the United States for the First Time—Here’s What a Derm Wants You to Know
We’re Calling It: Cleansing Balms Are the Face Wash of the Future—Here Are 3 to Add to Your Cart
This Is the One Product That Scarlett Johansson Always Keeps in Her Purse and on Her Bedside Table
Pro tip: Always push up and out in order to defy gravity.
Once your skin is nice and dewy, Shardae suggests starting at the nape of your neck, where you can feel your vertebrae. Using the bottom of the tool, where there’s a little circular-shaped dip, push it onto your neck a few times to feel a sense of relief. Yes, it’s like a mini massage.
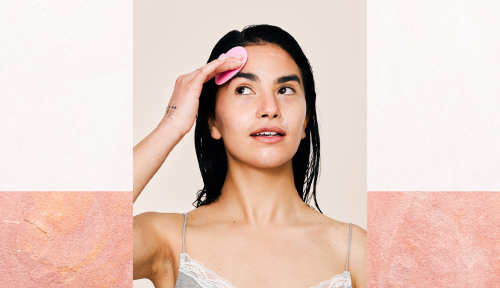
Now that you’re relaxed, shift the focus back up to your face. For your cheeks, use the long edge of your massage tool and press down firmly, but not hard enough to cause a red mark. Pro tip: Always push up and out in order to defy gravity, according to Boyce. “Once you push up and over to the edges of your face, give your tool a little wiggle to set your movement,” she adds. (Hello, insider secrets.)
When it comes to your eye area, use the small, edgy section of your tool. This will help you push into the nooks of your eyes and even nose area, and allows you to smooth out any fine lines or crow’s feet—and of course, don’t forget to wiggle.
The last part of your face that deserves some gua sha attention is your forehead, where you can use the long side or the curved inside section. As you rub it across your forehead (up and out!), Boyce recommends following behind with your finger because it acts as a guide to ensure you hit every curve of your face.
There you have it: the basics on how to gua sha your face—plus, a few tips and tricks from the expert herself. Now, go get your firm, glowy skin on.
Want more Wellness Collective? Click here for more wellness intel.
Sign Up for Our Daily Newsletter
Get all the latest in wellness, trends, food, fitness, beauty, and more delivered right to your inbox.
Got it, you've been added to our email list.
