Our editors independently select these products. Making a purchase through our links may earn Well+Good a commission
How To Prep Your Hair for Better, Longer-Lasting Braids, According to Experts
A clean scalp and detangled hair are the first steps of getting braids. Learn more about how to prep for braids whether DIY or at salon.
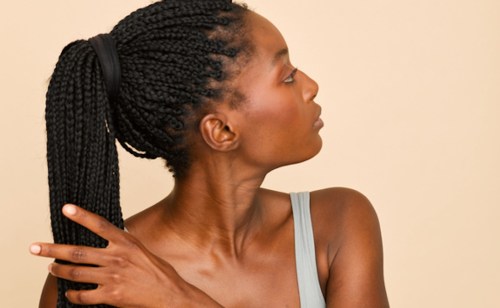
Part of the appeal of getting box braids is how long you can wear them without doing much to them, but that doesn’t mean the style is zero-lift. You should take considerable care with box braids (including washing them even if you aren’t taking them out), but that work begins before you sit down and start braiding.
Experts in This Article
is a certified trichologist and hair colorist.
licensed cosmetologist and owner of Beauté Anthologie
Knowing how to prep your hair for braids can make all the difference in how your final style turns out (and how your hair and scalp feel when you take them out). To help set the foundation for a good braid experience and final look, we spoke to experts Niani B., licensed cosmetologist and owner of Beauté Anthologie , and Bridgette Hill, a licensed trichologist, for the best way to prep your hair for braids.
How do I prepare my hair for a braiding appointment?
If your salon requires that you come to your hair braiding appointment already prepped, Niani suggests thoroughly cleansing your hair and scalp at home and tying it up in sections to avoid extra tangles. She also says to avoid putting any product on your scalp before your braiding session since you’ll be using products during the braiding step.
What should I do to my hair before getting braids?
Prepping your hair for braids can make or break your end result and overall experience. If you’re getting your hair done at a salon or by a braider, they may require you to show up with your hair ready to braid. If you’re DIY’ing braids, then prep is all on you. Either way, you should consider a few steps for a seamless experience.
Detangle Your Hair
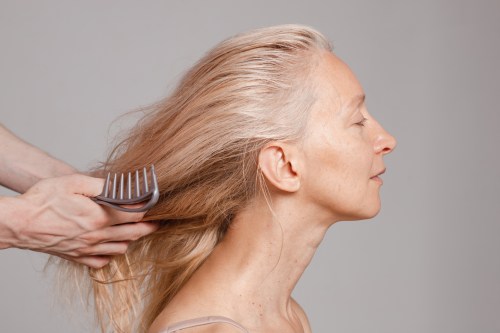
Whether you’re braiding on your own or sitting in someone’s chair, detangling is the most important step. To keep your braids smooth (and honestly, to prevent snagging during the parting and braiding process), Niani recommends detangling your hair from ends to root before you shampoo to avoid knots. Then, she recommends detangling with a conditioning mist (she uses Amika’s Wizard Hair Primer on clients) after your shampoo to keep your lengths tangle-free before braiding.
Shampoo
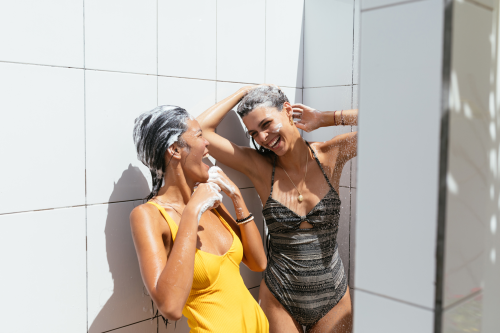
Both Niani and Hill agree that you want to ensure the scalp is clean and that your hair is free of product buildup before braids. Now would be a good time to whip out a clarifying shampoo to get a good cleanse.
If your scalp is dry or flaky, Niani says you can also use an exfoliating shampoo or scrub at this step. “I usually experience an irritated scalp in the winter from product buildup or the climate, so I like an exfoliating shampoo because it gets rid of buildup,” she says. Of course, the shampoo you use will depend on your hair type and concerns, but the ultimate goal is that your hair and scalp are 100 percent clean before braids.
Deep condition
Once you’ve shampooed, you’ll want to add moisture back to your hair with a deep conditioner. Niani recommends using a hair mask (typically every four to six weeks in your normal hair care routine) in lieu of traditional conditioner for this part for deeper hydration.
Blow dry
Our experts agree that hair should be stretched before getting braids for best results. “You’re trying to blend your hair with stretched-out braiding hair, so your hair should be stretched,” Niani says. “This will allow the braider to use less product to blend the hair while braiding.”
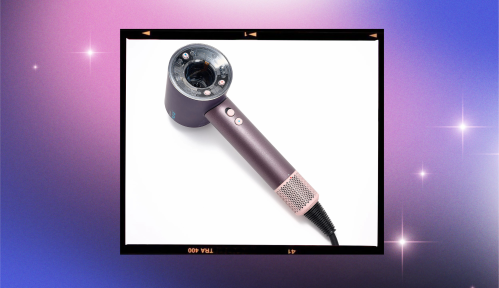
Of course, if you use a blow dryer to stretch your hair, our experts say use a heat protectant. Niani suggests using a dime-size amount of leave-in conditioner and heat protectant to hydrate the hair before blow drying. She also says Mizani 25 Miracle Milk leave-in conditioner is a good one-step way to condition and protect hair before using heat.
To blowdry, separate your hair into four sections, then use a paddle brush or a comb attachment with your hair dryer to stretch it. Once each section is dried, separate it into Bantu knots to prevent tangles from forming and keep the hair stretched. Hair should be dry before braiding and a thorough blowdry should suffice. That said, you don’t need a flat iron to smooth things out (like you would for a silk press); your hair just needs to be stretched and dried.
How long should you let your hair breathe between braids?
If you’re just coming off wearing your hair in braids for weeks, experts suggest waiting at least one month before you get new ones. Hill says taking a break between braids is important to keep your hair and scalp healthy. “It’s important to let the follicle rest to relieve any tension or inflammation,” says Hill. There are always exceptions to this rule, but I think a month of really allowing the follicle to rest is ideal.”
Should I oil my hair or scalp before getting braids?
Niani says to skip applying oil to your hair when preparing braids. Not only do you want your scalp to be free of product buildup, but she explains that some hair oils won’t play well with braiding products and can impact the hold or appearance of your final style, leaving behind a white, flaky residue.
If you want extra shine, you can add a thin layer of hair oil after your braids are done. Still, Niani cautions against applying oil directly to the scalp, which can exacerbate dermatitis or scalp psoriasis.
Final takeaway
Getting box braids can make your daily hair routine low-maintenance, but that doesn’t mean there’s no maintenance involved. Know how to prep your hair for braids (whether you’re doing them at home or in a salon) sets the stage for a healthy scalp and an end result you’re happy with.
Ultimately, starting with a clean scalp is the foundation for box braids. Then, making sure your lengths are moisturized and stretched makes it easy to blend your hair with braiding hair. You don’t want to skimp on taking your time to prep your hair if you’re planning for braids. “We should not be sacrificing clean hair and a healthy scalp for a protective style because then it’s not protective — it’s just cute,” says Niani
Sign Up for Our Daily Newsletter
Get all the latest in wellness, trends, food, fitness, beauty, and more delivered right to your inbox.
Got it, you've been added to our email list.
