

“Babies learn to sleep, but we adults are on auto-pilot,” says New York-based shiatsu therapist Ori Flomin. If you’re struggling to down-regulate your nervous system at the end of the day, he says, adding some easy self-administered shiatsu sequences to your evening routine can better set you up for sleep success.
- Ori Flomin, Ori Flomin is a New York-based shiatsu therapist, dance teacher, and choreographer.
Translated from the Japanese as “finger pressure,” shiatsu is a holistic discipline that was developed in the 1900s in Japan but with roots in ancient Chinese medicine. It exploded in the U.S. in the 1960s and 1970s, thanks to the counterculture movement, with Westerners seeking more approaches to healthier lifestyles.
Flomin, who trained at the Ohashi Institute in the late 1990s, was drawn to the modality for its whole-person approach that integrates physicality, psychology, emotionality, and spirituality. Shiatsu works with meridians, or channels of energy that flow through the body “like the moving water in a healthy river,” says Flomin. “In a stagnant puddle, the water gets dirty, like blocked energy. Similarly, in a flood, there’s excess water or excess energy.”
To disperse energy through movement, a practitioner begins by gently manipulating the limbs and brushing the body with the hands, then applies pressure on points along the 12 primary meridians to equalize the energy, returning the body to a more grounded sense of harmony. “Shiatsu is not medicine for severe problems, but in a short time, you can shift your state and change how you feel,” says Flomin.
“Shiatsu is not medicine for severe problems, but in a short time, you can shift your state and change how you feel.” —Ori Flomin
Although he has since returned to giving treatments in person, during the early pandemic, Flomin developed a workshop for people to learn basic principles of shiatsu to use on themselves. “The pandemic stopped our energy. We were locked down, stuck at home and couldn’t see or touch each other,” says Flomin.
Use this self-help shiatsu toolbox from Flomin anytime in the two hours prior to sleep to calm down from being amped up and cramped up all day. He emphasizes the importance of being relaxed and comfortable while gently performing these sequences—the key word being “gently.” Meridians are in muscles, but you won’t inflict harm if you don’t hit the exact points. Just press with your fingers or palms, instead of massaging or kneading. Don’t force your way into spots that are painful. “Be playful but cautious; it’s easy to overdo it,” he says.
For the arms, shoulders, and hands
- With the left hand holding the right wrist, circle the right hand in both directions.
- Use the left hand to wiggle each finger on the right hand, starting at the palm and moving out to the fingertip.
- Holding the right elbow, fold and extend the lower right arm.
- Hold the right shoulder with the left hand and manipulate it gently forward and backward, circling in both directions.
- Give the right arm a little brush from shoulder to fingertips, like you’re dusting it off. Notice how this arm feels heavier, longer and more open.
- Repeat on the other side.
- Then, to open the chest: Beginning at the sternum, apply gentle pressure to walk the right fingers along and around the left collarbone to the shoulders, and then repeat on the other side.
For the legs and feet
- Sitting down on the edge of a chair, with your fingers interlaced under the right leg, pick it up and give it a relaxed shake. Keep the leg muscles relaxed and passive, not letting the hip flexors tighten up.
- Put the right foot down and toss the knee back and forth, loosening the hip socket.
- Move into a figure-four position with the right foot on the left knee. Support the ankle with the right hand while circling the foot gently with the left hand.
- Squeeze the toes and fold each one forward and back.
- Put the leg down, brush down the front and back like you did with the arms, from hip to foot.
- Repeat with the other leg.
For the head and neck
- With fingers interlaced behind the head at the base of the skull, gently manipulate the head in small circles in each direction, feeling the weight of the head in the palms.
- To relieve the compression that builds over the top of the cervical (neck) spine, pull up gently to elevate the head a little bit away from the neck.
- Repeat with hands clasped around your temples.
- Then brush the back of the neck up to the head and down to the shoulders.
Pressure points on the primary meridians
For these pressure points, Flomin recommends holding each for a few seconds (a deep breath or two), no more than three times.
Pillar of heaven
- With both hands at once, starting at the point just under the inner border of each eyebrow, walk the fingers up towards the hairline, over the crown of the head and all the way down towards the base of the skull on either side of the spine. Hook your thumbs in those little niches.
- Allow the weight of the head to fall slowly and gently back into your open palms while pressing thumbs into the niches.
Well in the shoulder
- With the right hand, lightly squeeze the trapezius muscle from the base of the left side of the neck down to the shoulder. Then locate the center point of the trapezius (the highest point of the muscle between the neck and the shoulder) and walk your fingers backwards slightly into the point of sensitivity. Hook your fingers and gently press.
- Repeat on the other side.
Palace of hearing
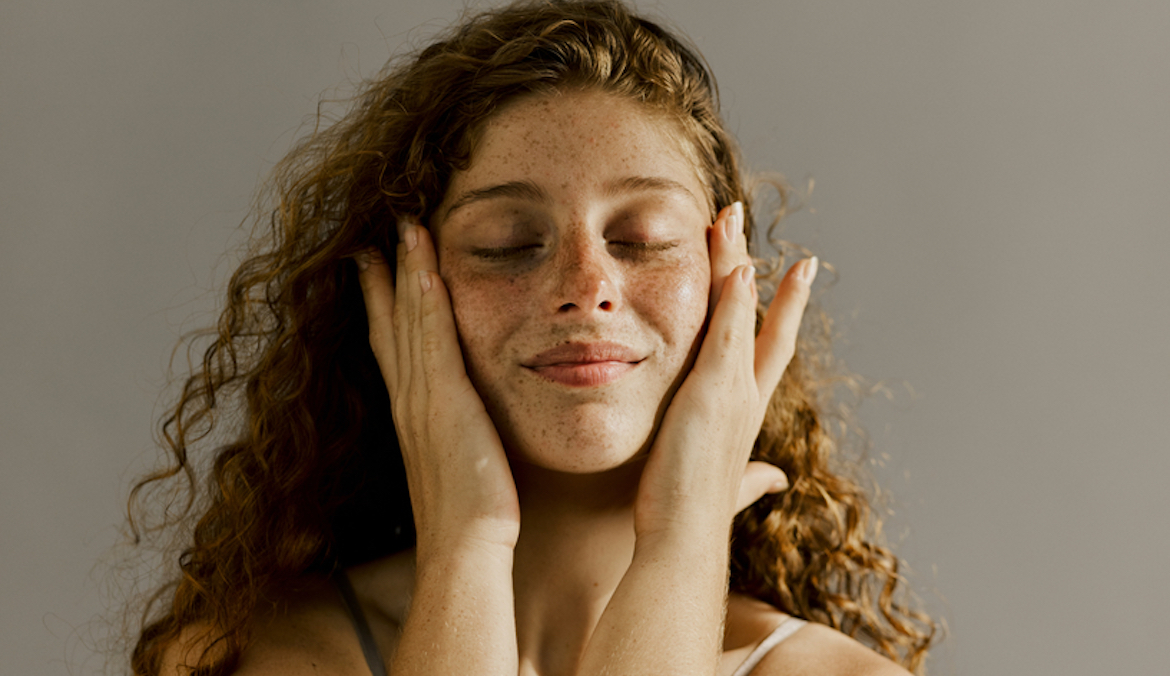
- With both hands at once, give your face a little brush, starting from the nose and working outward.
- To release tension along the jaw, bring your fingers just inside the bump in the center front of your ears (called the tragus), and open your mouth. Locate the niche formed when the jaw is slightly opened, and press into it.
Oh hi! You look like someone who loves free workouts, discounts for cutting-edge wellness brands, and exclusive Well+Good content. Sign up for Well+, our online community of wellness insiders, and unlock your rewards instantly.