Our editors independently select these products. Making a purchase through our links may earn Well+Good a commission
These At-Home Microdermabrasion Devices Are the Closest Thing You Can Get to an In-Office Skin Resurfacing Treatment
If you're cautious and using a good tool, at-home microdermabrasion isn't difficult. Learn how to do it and the best tools to use.
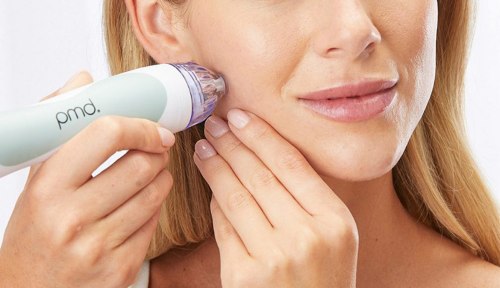
When your skin is feeling rough or your pores are congested, you know it’s time for some exfoliation. Typically, you can turn to chemically exfoliating acids or scrubs, but when you really want to go in for an intense-yet-effective physical exfoliation, at-home microdermabrasion is a great option.
Experts in This Article
board-certified dermatologist and founder of Skinfluence
What is microdermabrasion?
“Microdermabrasion is a form of exfoliation and can improve the appearance of wrinkles, fine lines, acne scars, discoloration, age spots, and melasma,” explains Marina Peredo, MD, a board-certified dermatologist based in New York City..”It is a procedure that improves skin texture and tone. Microdermabrasion is non-invasive and typically uses aluminum oxide crystals to exfoliate the skin. The crystals are as hard as diamonds but gentle.”
She notes that the treatment is good for all skin types and skin tones, but it may be too harsh on compromised or sensitive skin. “If you have acne, rosacea, eczema, or atopic dermatitis, microdermabrasion is probably not a good treatment for you,” she adds.
How microdermabrasion works
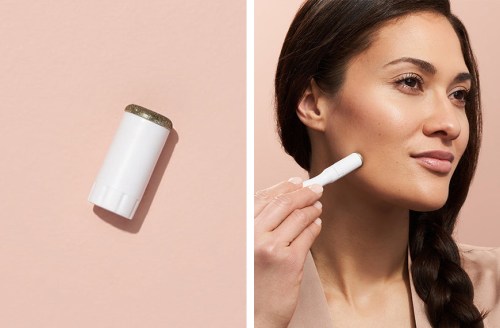
The tip of a microdermabrasion tool (pictured left) features a ring of those hard-as-diamonds aluminum oxide crystals. The tip connects to a suction device (pictured right) that allows the crystals to move across your face with some pressure, then sucks up any dead skin, sebum, and other debris that comes out.
When you’re removing dead and uneven skin from your face, you’re keeping the pores clean, which can help prevent pimples. Plus, you’re removing old skin that may be discolored by dark spots while speeding cellular turnover, which can help prevent fine lines and wrinkles.
The difference between in-office and at-home microdermabrasion
Typically, microdermabrasion is performed at the hands of a dermatologist or esthetician, but there are tools that allow you to get similar results at home. However, Dr. Peredo notes that getting in-office microdermabrasion is much more effective than the DIY version.
“The professional devices are more powerful and the professional conducting the treatment can guide the patient to the best result possible,” says Dr. Peredo. When you’re the one in control it’s very easy to overdo it, which can cause irritation, acne, and bruising.
That said, if you’re cautious and using a good tool, at-home microdermabrasion isn’t difficult. If it’s within your budget, it might be helpful to book at least one session with a pro before going at it on your own so you at least know what it should feel like. Below, learn how to perform at-home microdermabrasion and the best tools to use.
How to perform at-home microdermabrasion
1. Pick the right tool
When doing microdermabrasion on yourself, it’s important to have a tool you feel you have good control over. Some tools provide different levels of suction while others only have one setting and are controlled by how hard you push down. Shop three options below.
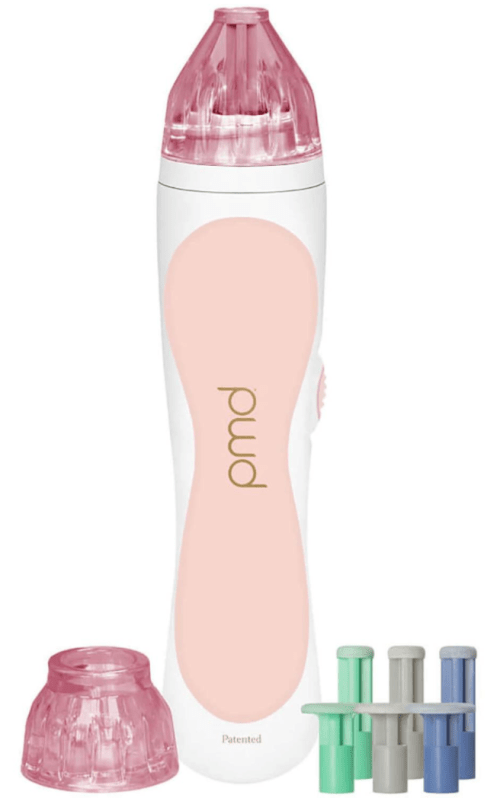
PMD Personal Microderm Classic — $159.00
This tool from PMD runs at one speed and comes with six heads (three for face, three for body) with three different grades of exfoliation. The brand offers eight heads in total that are available to purchase separately. It functions with a reusable cap and filter that must be washed after each use.
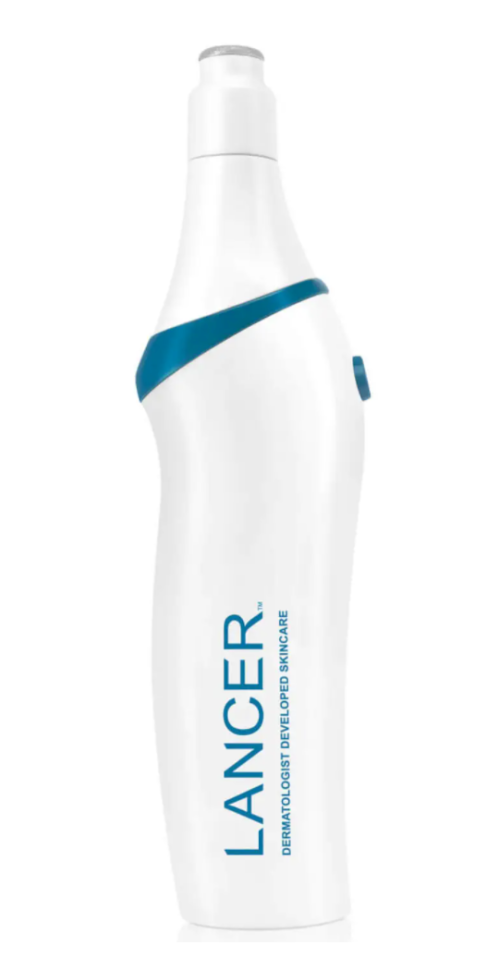
Lancer Skincare Pro Polish Microdermabrasion Device — $200.00
This Lancer tool comes with three suction modes (low, medium, and high) and two heads (one for face, one for body). It features a swivel head to allow you to change the angle of the head to help you perform the treatment with ease. It comes with disposable filters that must be changed after each use.
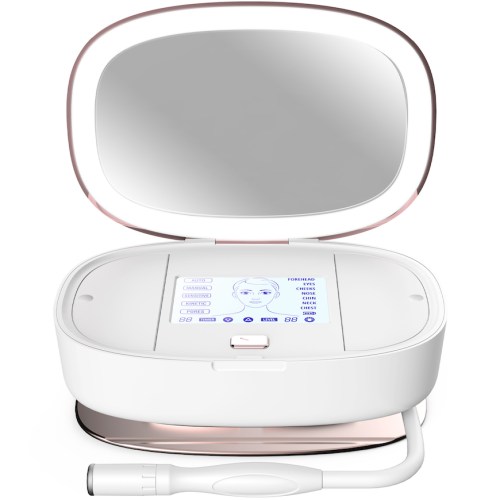
Trophy Skin UltradermMD — $349.00
This tool takes all the guesswork out of at-home microdermabrasion. It features four guided modes (auto, sensitive, kinetic, and extraction) that walk you through your treatment, showing you when to move to a different area of your face while automatically changing the level of suction. It also features a manual mode for experienced users.
2. Read the instructions
This one may seem obvious, but exfoliating your skin with a bunch of tiny crystals and suction is not the time to just wing it. Sit down with your device and read the instructions before you even think about touching it to your body.
3. Wash your face
“You should prep your skin by cleansing your face with a gentle cleanser to remove any dirt, oil, or makeup and then let your face completely dry,” says Dr. Peredo. This prevents you from taking any gunk that’s on your skin and grinding it deeper into your skin.
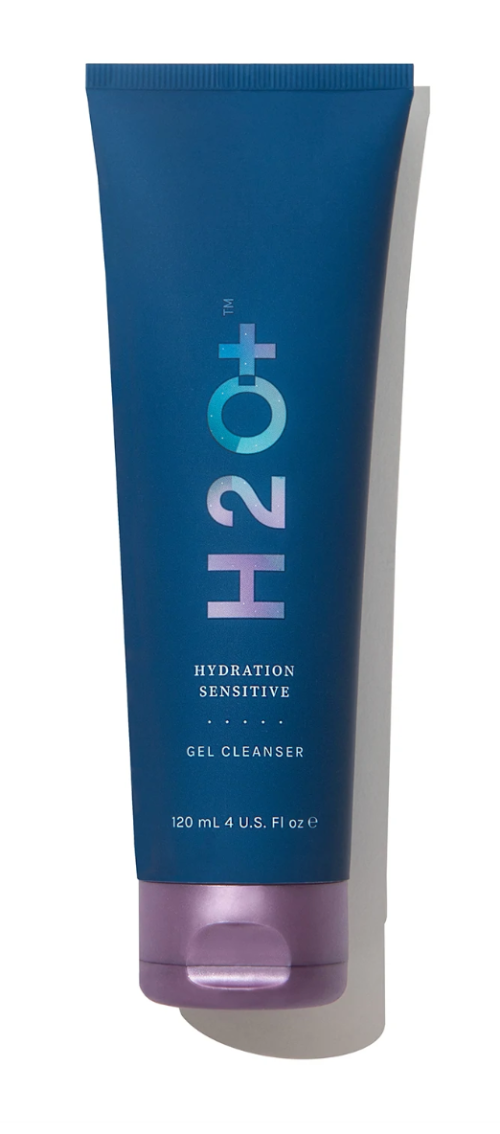
H2O+ Gel Cleanser — $28.00
This gel cleanser is super gentle, making it perfect to use before microdermabrasion. It gently cleanses skin while helping replenish moisture and reduce redness.
4. Start low and slow
If your device comes with multiple heads, use the one with the finest grit. “When applying to the face it should feel smooth and not too rough on the skin,” says Dr. Peredo. While you’re using it, start with low suction and don’t press it into the skin too hard. “You should always start with the lowest setting to see how your skin reacts.”
5. Pull your skin taut
To be able to glide the tool over your skin with ease, pull your skin taut, like you would if applying eyeliner. This gives you a smooth surface so the tool doesn’t get tripped up on the curves and contours of your skin.
6. Move swiftly
While performing microdermabrasion, you want to keep the tool moving. Don’t hover in one spot and don’t pass over an area more than twice. Follow an upward motion as you gently glide the tool against your skin. You should feel the suction and exfoliation, but it shouldn’t be uncomfortable—and it definitely shouldn’t hurt. Also keep in mind that certain areas, like your eyes, won’t be able to handle as strong of pressure as say, your forehead, so tread lightly in these spots. Listen to how the device feels on your face and adjust the pressure accordingly.
7. Finish off with soothing products
After microdermabrasion, your skin shouldn’t hurt, but it may be a bit sensitive. Use soothing ingredients like hyaluronic acid, niacinamide, and ceramides to relax your skin while it recovers.
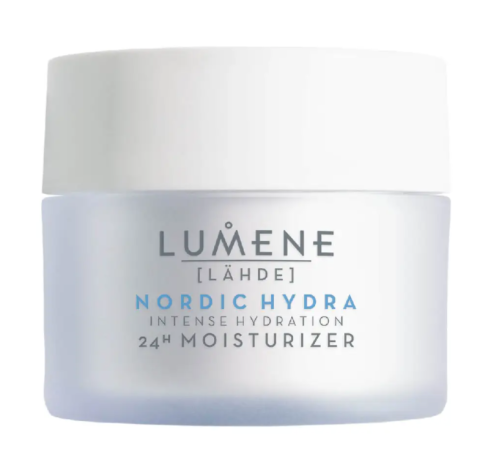
Lumene Nordic Hydra Intense Hydration 24H Moisturiser — $20.00
This moisturizer provides deep hydration, mixing pure Arctic spring water with organic Nordic birch sap to nourish and hydrate the skin. It’s made with slow-release technology to keep the moisture flowing for long-lasting hydration.
8. Clean the tip and replace the filter.
With the device unplugged, remove the tip and clean it with your go-to face wash and a soft brush (like a toothbrush). Rinse it and allow it to dry completely before your next use. If your device comes with disposable filters (to catch all the gunk it removed from your face) change the filter.
9. Repeat weekly
Because at-home microdermabrasion tools aren’t as strong as in-office tools, you can use them more often. Space your sessions out by at least a week.
Want to be the first to hear about the latest (and greatest) SHOP product drops, custom collections, discounts, and more? Sign up to have the intel delivered straight to your inbox.
Sign up for the Well+Good SHOP Newsletter
Get exclusive deals on wellness, beauty, fitness, and food products that have been hand-picked by our editors.
Got it, you've been added to our email list.
