Our editors independently select these products. Making a purchase through our links may earn Well+Good a commission
2 Foolproof, Makeup Artist-Approved Methods for Creating a Smudge-Free Cat Eye on Mature Skin
A makeup artist shares how to create a cat eye on mature skin that won't cake, flake, or smudge all day long.

The perfect cat eye, with its great sense of drama and a lineage that extends back to Cleopatra, has always been one of my favorite looks. Depending on how you draw it, it can imbue a face with sexiness, haughtiness, elegance, cuteness, strength, or eccentricity. But as the passage of time has started to show itself on my 65-year-old skin, I’ve learned that it’s an incredibly difficult look to create on eyes with wrinkles or drooping.
I started asking makeup artists how I could do a cat eye “at my age” quite some time ago—ever since my usual application method left me with lines that looked like bad handwriting—and always got the same response: “Sorry, you can’t. It’s impossible. Also, have you considered Botox?” But I’ve persisted in my quest, and am happy to report that yes, there are definitely ways to do a cat eye—even on a face that has crow’s feet and sagging lids. The trick is to use tools, products, and techniques designed for the job, and there are two methods that can help you get it right.
The eyeshadow method
According to makeup artist Dakota Alexandra, cat eyes can be challenging to create on mature skin because liner is more prone to creasing, flaking, or bleeding when it’s applied on top of wrinkles. To combat this, she recommends using eyeshadow in lieu of your typical pencil.
1. Start with a primer
Priming your lids is an important (and oft-forgotten) step that will keep your cat eye clear and smudge-free. “A good primer always helps,” says Dakota. She’s a fan of Milk Makeup’s Hydro Grip Eyeshadow and Concealer Primer ($25), which is clear, for locking makeup in place, but notes that you may want to opt for an opaque product (like About Face Shadow Fix Prime) if you want a stronger color payoff from your liner.
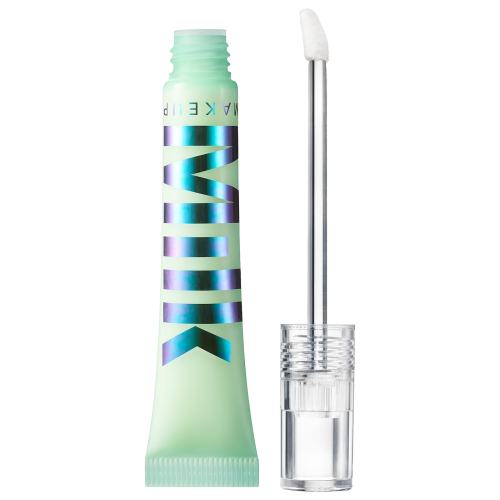
Milk Makeup Hydro Grip Eyeshadow and Concealer Primer — $25.00
2. Create your base with a shadow stick
“Use a black eyeshadow powder or cream to create the line rather than a pen or liquid, because sometimes liquids settle into lines or bleed a bit,” she says. She recommends Laura Mercier’s Caviar Eye Stick in Tuxedo ($32), which you can use to set your base before perfecting the shape with a brush. Just keep in mind that this stick has a medium-sized tip, so you’ll want to angle it carefully to ensure you’re initial line doesn’t become too wide.
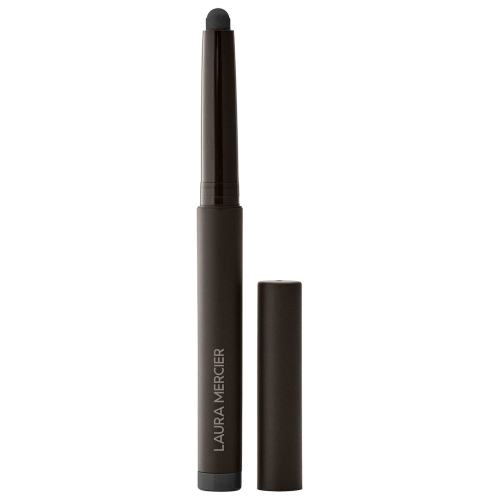
Laura Mercier Caviar Eye Stick — $32.00
3. Shape and blend with a small brush
To create the winged tipped—arguably the most important part of the cat eye—use a small detail brush to blend out the creamy shadow. “It diffuses nicely for a smoked-out look,” says Dakota.
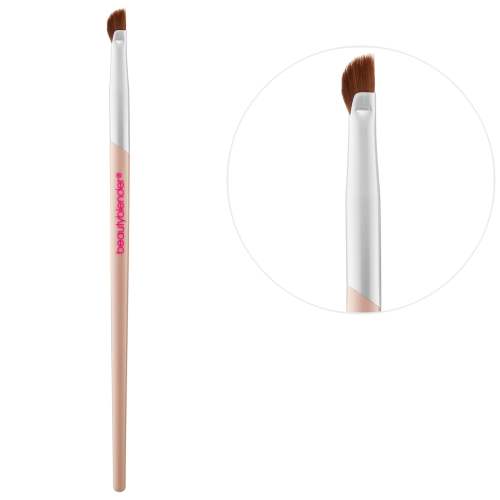
Beautyblender Wing Man Curved Eyeliner Brush — $22.00
Following her advice, I primed my eyes with the Milk primer, which gave my lids a light sheen of brightness that made my eyes pop. Then, I created my initial line using the Laura Mercier eye stick, keeping it very close to my lashes, and smoothed it with the Beautyblender brush (above), which made it easy to create that final sweep at the edge of the eye. The end result was a deep, rich cat eye strong enough to stand on its own without the addition of shadow or shading.
The stamp method
If drawing a cat eye with the above method still feels too challenging, try an eyeliner stamp. These products are ultra-popular on social media, and make applying the perfect wing seamlessly easy for even the unsteadiest hands.
1. Start with a thin, dark pencil
Start by lining the edge of your lashes with a dark pencil, getting as close to your lash line as possible. I like the Shiseido Microliner Ink Pencil ($22) because the tiny tip gives me a clean, tight line that doesn’t budge until I take it off.
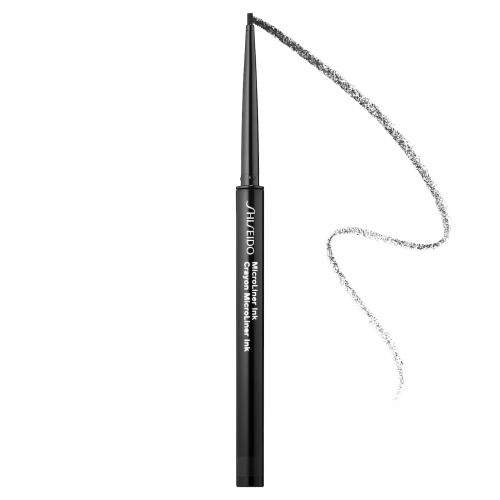
Shiseido MicroLiner Ink Eyeliner — $22.00
2. Re-line with a softer, lighter pencil
Next, use a softer, lighter pencil (I use MAC’s Colour Excess Tat Last Gel Pencil ($23)) and add another line directly above the first. Extend it out and slightly up at the outside edge of the eye, which will blend and soften the line right at the edge of your crow’s feet.
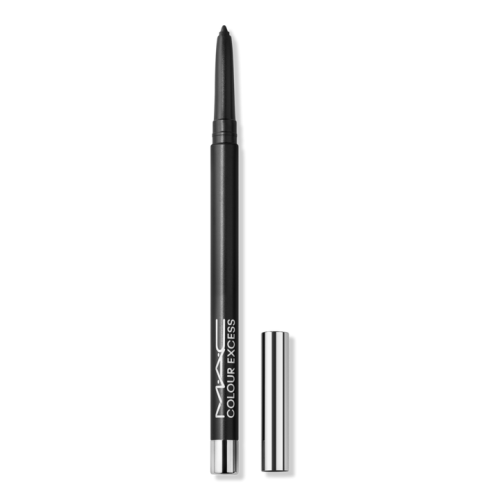
MAC Colour Excess Gel Pencil Eye Liner — $23.00
3. Stamp on your wing
This is where the magic happens. I’m a fan of the Kaja Wink Stamp ($29), which delivers the perfect cat eye shape with minimal effort. I stamp it on at the outer edge of my eye, above any creasing. I love that it creates a wing at a slightly higher angle than the brush method allows, which draws attention to the higher points of my face.
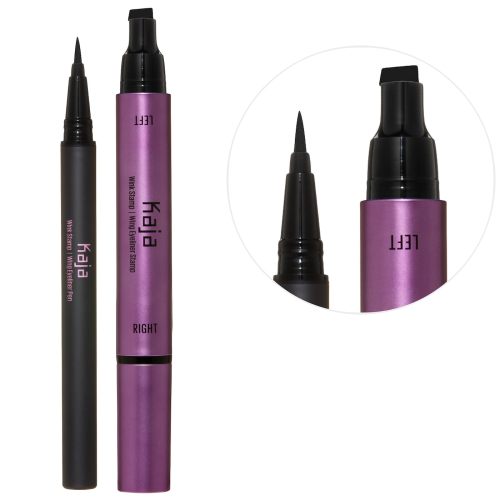
Kaja Wink Stamp Wing Eyeliner Stamp & Pen — $29.00
Sign up for the Well+Good SHOP Newsletter
Get exclusive deals on wellness, beauty, fitness, and food products that have been hand-picked by our editors.
Got it, you've been added to our email list.
