

Flexible hips aren’t just about getting bendier; regularly practicing hip-opening yoga poses can significantly reduce lower back pain and hip improve range of motion, making everyday activities much easier and more pain-free, according to a September-December 2019 study in the International Journal of Yoga.
- Paige Willis, RYT-200, certified yoga instructor and founder of Undone, a pop-up yoga experience
“Think of all the movements you do in a day; they all involve your hips, don’t they?” says Paige Willis, RYT-200, certified yoga instructor and founder of Undone, a pop-up yoga experience. “You walk, sit, reach, and bend, and your hips are the engine that makes it all possible. So if they’re tight, those daily movements will feel stickier, less comfortable.”
Willis is the host of our April 2024 Movement of the Month Club, focusing on yoga. Designed to ease tension and increase mobility, these six yoga poses for Week 3 of the program bring a sense of relief and openness you might not have felt in a while—especially if you spend a lot of time sitting (it’s us, hi).
Join the Movement
If you’re following along with our Movement of the Month Club, you’ll do one pose each day, Monday through Saturday. Then on Sunday, you’ll do the full 5-minute routine.
Do each pose for 50 seconds (25 seconds on each side, where necessary) before moving on to the next one, for a total of 5 minutes. If you’re feeling especially tight or if you have more time, feel free to do each move for as long as feels good.
1. Goddess Pose (Utkata Konasana)
The power of this pose is in the name: It will make you feel like a goddess. It strengthens your legs, hips, and core and deeply stretches your hips (external rotation) and inner thighs.

- Stand tall with your feet wider than hip-width apart, toes pointed slightly outward and arms by your sides.
- On an exhale, bend your knees deeply, lowering your hips down toward the ground.
- Keep your knees tracking in line with your toes, ensuring they don’t collapse inward.
- Aim to bring your thighs parallel to the ground (if your flexibility allows), forming a right angle with your calves.
- Extend your arms out to the sides at shoulder height, palms facing forward or upward.
2. Star Pose (Utthita Tadasana)
This pose reaches almost every muscle in your body by having you stretch out in all directions, while creating space for your lungs to fill up and your heart to open.
- Stand tall with your feet together and arms by your sides.
- On an inhale, step your feet apart, spreading them about 3 to 4 feet apart.
- Extend your arms out to the sides at shoulder height, reaching actively through your fingertips.
- For a deeper stretch, you can lift your arms overhead and reach upward, lengthening through your entire body.
3. Warrior 2 (Virabhadrasana II)
By practicing warrior 2 pose, you encourage openness across your hips and chest and create a sense of groundedness that can also give you an energy boost.
- Stand tall with your feet together and arms by your sides.
- Take a step back with your left foot, about 3 to 4 feet behind your right foot.
- Turn your left foot out slightly, approximately 45 to 90 degrees, so your toes point toward the left side of your mat.
- Bend your right knee, stacking it directly over your right ankle.
- Keep your left leg straight and strong, pressing firmly into the outer edge of your left foot.
- Extend your arms out to the sides at shoulder height, parallel to the ground, with your palms facing down.
- Return to center, then repeat on the other side.
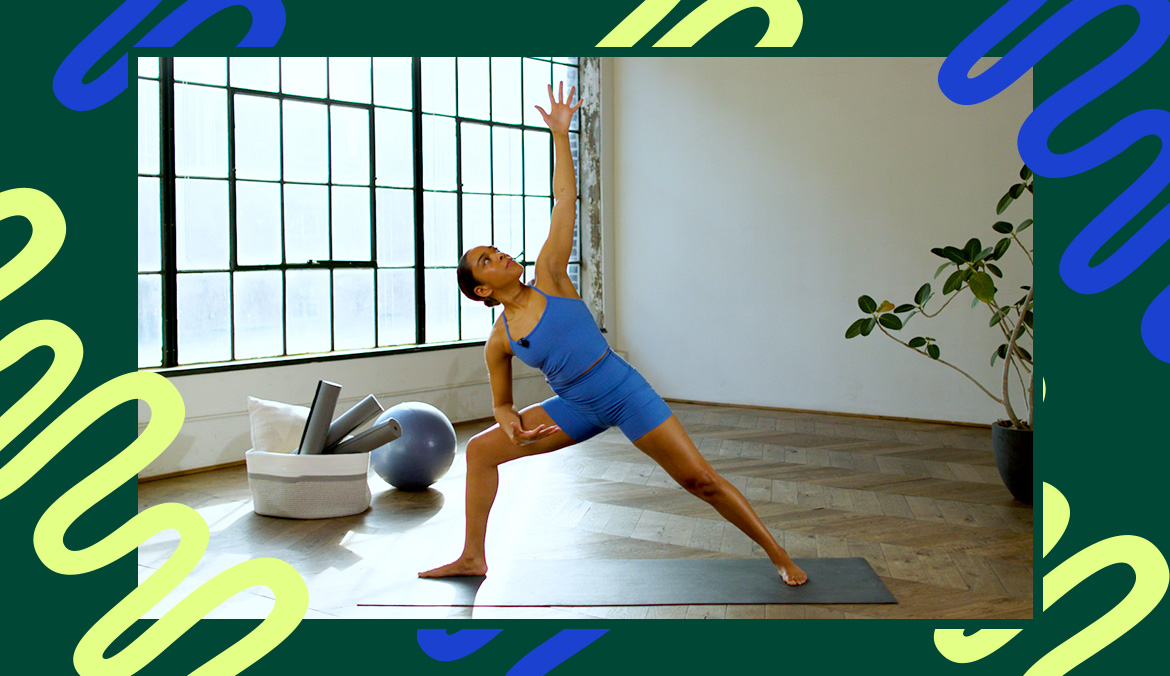
4. Extended Side Angle (Utthita Parsvakonasana)
Take warrior 2 one step further to open your hips, strengthen your legs, and stretch your side body even more.
- Begin in warrior 2 (see above) with your right knee bent and your right thigh parallel to the ground.
- Extend your arms out to the sides at shoulder height, palms facing down.
- On an exhale, tilt your torso to the right, bringing your right forearm to rest on your right thigh.
- Extend your left arm overhead, reaching toward the front of your mat, creating a straight line from your left fingertips down to your left heel.
- To release, inhale as you straighten your right leg and lift your torso back up to warrior 2.
- Repeat the pose on the other side, transitioning through warrior 2 with your left knee bent.
5. Standing Side Lunge
This dynamic lunge variation requires the hip of the extended leg to open and the groin area to stretch. This engages and gradually loosens the hip flexors, adductors, and muscles surrounding the pelvis, increasing hip range of motion, encouraging better circulation to these areas, and improving flexibility and mobility over time.
- Stand with your feet together, hands at your sides, and distribute your weight evenly through both feet.
- With an exhale, step your feet about 3 to 4 feet apart.
- Bend your right knee and push your hips back to lower into a lateral lunge. Your right thigh should be parallel to the floor, with the right knee aligned over your right ankle. Keep your left leg straight, with your left foot firmly planted on the ground.
- Straighten your leg, then repeat on the other leg.
- Continue to rock side to side.
6. Half Pigeon Pose (Eka Pada Rajakapotasana)
Half pigeon pose opens the hips by targeting both the deep hip rotators and hip flexors through a balanced stretch, promoting flexibility and providing relief gently.
- Begin in downward-facing dog. Take a deep breath in, lifting your right leg up to the sky.
- As you exhale, bring your right knee forward toward your right wrist. Place your right knee on the mat and position it just outside your right hip rather than directly in front.
- Slowly walk your right foot toward the left side of your mat, aiming to bring your shin parallel to the front edge of the mat.
- Gently lower your hips toward the mat, ensuring they are squared to the front of your room or mat. Place a folded blanket or a yoga block under your right hip if it does not comfortably reach the floor.
- For a deeper stretch, slowly walk your hands forward, lowering your torso down over your right leg.
- To release the pose, gently walk your hands back toward your body, lifting your torso. Tuck your left toes, lift your hips, and return to downward-facing dog.
- Shake out your right leg, then repeat the sequence with your left leg forward.