3 ‘Melt Method’ Moves To Instantly Decompress Your Hips
Follow these Melt Method to relieve tightness in your hips with a soothing release for knee and back pain, too.
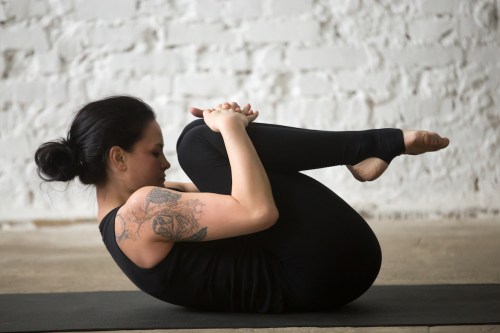
While getting a good stretch feels amazing, you sometimes need a bit more for relief in your hips. The Melt Method uses self-myofascial restorative techniques that simulate hands-on therapeutic practices.
“The hip joint is small, but its motion is vital to efficiently transmit load from our upper to lower body as we move,” says Sue Hitzmann, MS, neuromuscular therapist founder of the Melt Method in a YouTube video. In the Melt Method Lower Body Sequence, Hitzmann guides us through a series of moves that help to decompress the hips while also relieving knee and back pain.
How to use the Melt Method for your hips
1. Modified pelvic tuck and tilt challenge
If you do barre exercises, the tuck and tilt may be familiar to you. This move is the base for most of the exercises performed in the lower back sequence.
Begin by lying on your back with a rolled towel placed under your hips (not below the arch of your low back) with your knees bent and your feet flat on the floor.
Tuck your pelvis up like your public bone is a tidal wave crashing in toward your belly button.
“Remember when we tuck, we don’t want to feel like we’re pushing into our feet, squeezing our butt cheeks, or lifting our hips,” says Hitzmann. “And when we tilt, we don’t want to feel our ribs come with us, and if you’re feeling like your ribs are coming with you, remember you can always put your hands right on your ribs.”
2. Hip-to-heel press
Hitzmann says the hip-to-heel press teaches you the difference between stretching muscles and lengthening fascia.
Begin with the same position, on your back with a towel under your hips. Keep your left leg bent while you extend your right leg out long.
“The first thing I want you to do is allow your core to activate so take a breath in, feel and follow your core activation and then try to lift your right like off the ground and see if you can keep your knees straight and your pelvis neutral on the [towlel],” says Hitzmann.
Lift until right before your leg becomes perpendicular with your torso or until your feel like you need to bend your knee to lift any higher. Begin to flex and point your ankle, while keeping your back muscles relaxed, engaging your front thigh muscles, thinking about tilting your pelvis, and seeing if you can sense an intentional pull all the way down the back of your leg. Repeat on the other side.
3. Bent Knee Press
“I want you to really focus first on your right foot, find the ball of your big toe, find the outside of your foot, and then try to find the center of your heel. I actually want you to actively participate in pushing your right foot into the floor,” says Hitzmann.
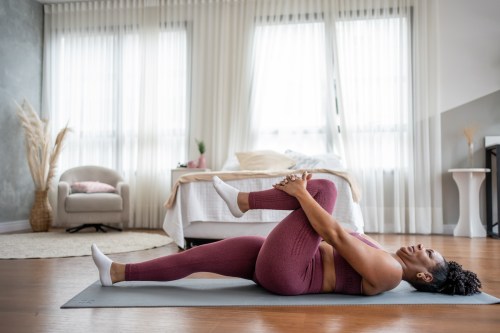
With your foot pressed down begin to tuck your pelvis as your pull your left knee into your chest.
“Encourage the tuck and accentuated by bringing your knee towards your chest, but now I really want you to feel like you’re energizing your right knee over your toes as you curl your pubic bone into the tuck towards your nose,” says Hitzmann. “And then inhale, ease back some of that tension. And then again, tucking energize your knee in opposition feel that subtle tensional pull on the front of the thigh.”
To complete the full lower-body Melt sequence, watch the full video above.
Oh hi! You look like someone who loves free workouts, discounts for cutting-edge wellness brands, and exclusive Well+Good content. Sign up for Well+, our online community of wellness insiders, and unlock your rewards instantly.
Sign Up for Our Daily Newsletter
Get all the latest in wellness, trends, food, fitness, beauty, and more delivered right to your inbox.
Got it, you've been added to our email list.
