Our editors independently select these products. Making a purchase through our links may earn Well+Good a commission
I’ve Tried Every Possible Way To Fix a Broken Nail, and This Is the Only One that Actually Works
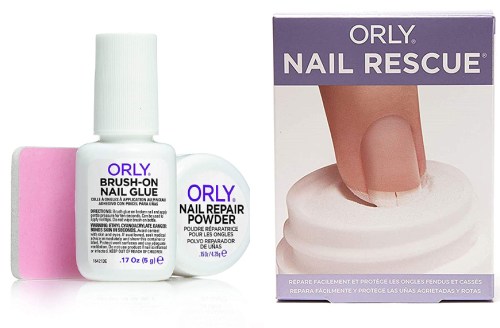
The Orly Nail Rescue Kit includes nail glue, repair powder, and a file. It makes fixing broken nails incredibly easy.

I am a massive fan of DIY nail art, and find that it’s most fun when I have a good-sized canvas. Of course, that means keeping my nails healthy and long. I do my best to prevent breakage—I file my nails regularly, use cuticle oil, and even wear gloves when I do dishes. But, I always get inevitable breaks around the edges of my nails. I used to pout and cut my nails whenever they broke. But now, I use the Orly Nail Rescue Kit ($17), and I’m never looking back.
Orly Nail Rescue Kit — $17.00
This super-simple kit includes nail glue, repair powder, and a file. It makes fixing broken nails incredibly easy. In the past, I’ve tried everything to rehab my broken nails—including painting on a thick layer of polish and hoping for the best (didn’t work), repurposing the paper from a tea bag (time-consuming, annoying, and left me with a bumpy nail), and using superglue (just… no). This kit allows me to seamlessly fix a broken nail in seconds.
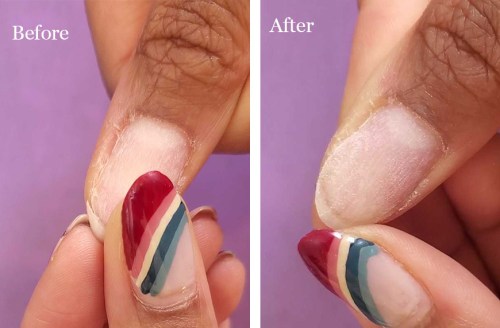
How to fix a broken nail using the Orly Nail Rescue Kit
1. Prep nail
If you’re wearing nail polish, start by removing any polish, buffing, and cleaning off the nail. I used rubbing alcohol to make sure the Fix Kit had something nice and clean to adhere to.
2. Paint on the nail glue
Next, take the nail glue, which comes with an applicator brush, and put it over the area that needs repair.
3. Dip finger
Immediately after applying the glue, dip your finger in the repair powder.
4. Repeat steps 2 and 3
Depending on the size of your break, you may want to add an extra layer or two. I fixed the above nail with two layers.
5. Clean up
Since I was fixing the side of my nail, I used a pointed stick to quickly clean up the crevice between my nail and skin. Next, I used a file to shape my nail, starting on the outer corners of the nail and filing up toward the center.
6. Finish up with polish
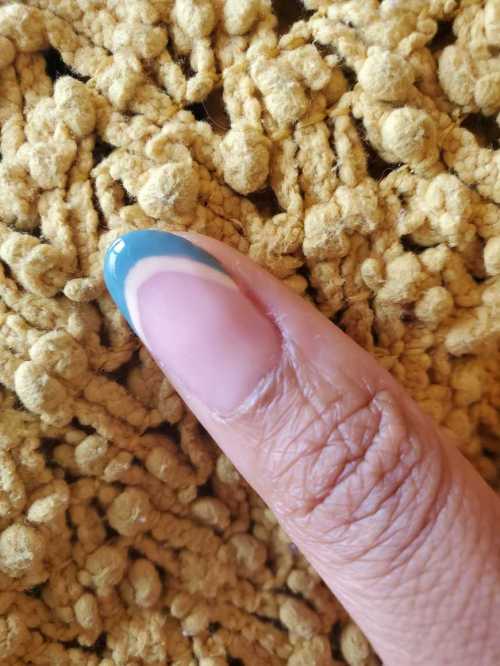
Once your nail is back in a solid piece, you’ll want to seal your repair job with polish. I lacquered my go-to gel on top, and it looked great and felt strong.
Want to be the first to hear about the latest (and greatest) SHOP product drops, custom collections, discounts, and more? Sign up to have the intel delivered straight to your inbox.
Sign up for the Well+Good SHOP Newsletter
Get exclusive deals on wellness, beauty, fitness, and food products that have been hand-picked by our editors.
Got it, you've been added to our email list.

