
If you can't already tell, I'm a full-fledged 'booch obsessive. Another reason I love it: Kombucha's fruity fizz is energizing and a much healthier alternative to downing a latte when the early-afternoon slump sets in. "An occasional kombucha can help the body detoxify and improve the gut," says New York City nutritionist Amy Shapiro, RD. "It can help keep you regular, improve digestion, and boost your immunity."
Okay, but regularly shelling out $4 (at least) per bottle can add up to over $100 each month, making the healthy habit very unhealthy for my wallet. And since I need my kombucha fix on the reg—affordably—I wondered if brewing my own might be the way to go. After all, studying retail operations in college taught me that every product on store shelves is marked up at least 65 percent.
I knew that brewing kombucha wouldn't be as simple as a cup of coffee, but I'm never one to turn down a challenge (or a new hobby!). And so, armed with a brew kit and a (perhaps) blindly optimistic "How hard could it be?" attitude, I set out to brew my own 'booch.
Keep reading to find out what happened when I traded buying kombucha bottles for brewing them myself.
Bacteria + yeast = SCOBY
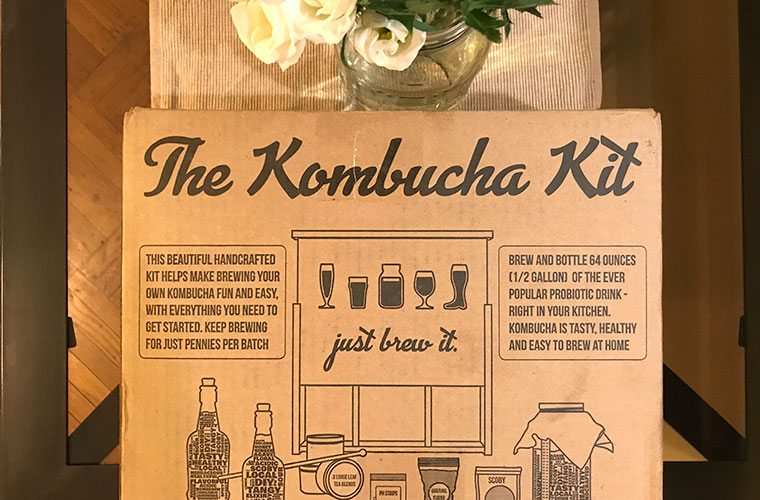
On a recent Thursday morning, I arrived at Well+Good to find my newly ordered kombucha brewing kit on my desk. I chose an all-inclusive option from Box Brew Kits, a company that is geared toward first-time brewers—AKA, me. The kombucha kit costs about $100, which is a bit of an investment, but a justifiable one for the convenience of having comprehensive instructions and everything I need to brew endless batches.
Fast-forward to the end of the day. I'm wondering how to best get the 15-pound box back to Brooklyn. (On a packed train, no less.) I head downtown—kombucha kit in one arm, my work bag in the other—desperately trying to keep the kit from knocking into people.
Inside [the kombucha kit] is a sealed plastic package containing a slimy-looking disk suspended in liquid, which looks like it would be more at home in a tide pool.
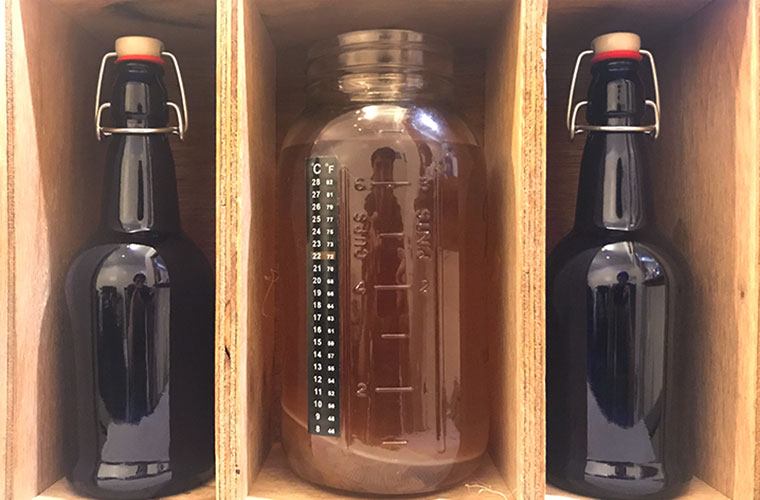
Once I'm home, I unpack the box. Inside, I find a similarly sized wooden box that slides open to reveal a 1/2 gallon mason jar nestled between two swing-top bottles that resemble those I've seen my boyfriend use for home-brewing beer. Inside the jar is a square of muslin cloth, three tins of tea, a packet of pH testing strips, a bag of organic cane sugar, and a sealed plastic package containing a slimy-looking disk suspended in liquid, which looks like it would be more at home in a tide pool than a kombucha brewing kit.
After a cursory read of the included instructions, I learn that the slimy disk is called a symbiotic culture of bacteria and yeast, or SCOBY. The combination of bacteria and yeast is what allows the kombucha to ferment, creating the bubbly fizziness I'm so fond of.
A half a cup of sugar?
I take out my kombucha kit to get brewing. Luckily, the instructions are easy to follow and there's no super-technical lingo.
The process basically involves making a big batch of tea. But of course, it's not that simple. First off, extra attention must be paid to keeping everything as sterile as possible—and no soap is allowed. (Both non-SCOBY bacteria and soap can actually botch your batch). The brew kit instructions call for vinegar to be used as a sanitizing agent on everything your kombucha will touch. As my tea brews in a large stove pot, I thoroughly "wash" everything—from the mason jar to my stirring spoon to my hands—in white vinegar.
The next step is even more surprising: The instructions call for me to add half a cup of sugar to the tea. Although it seems excessive (and not exactly healthy), the SCOBY breaks down the sugar during the fermentation process. This produces carbonation, bubbles, and those gut-healthy probiotics everyone keeps raving about.
Sugar essentially "feeds" the healthy probiotics that develop as the batch ferments.
"The culture in the bacteria or yeast consumes much of the sugar," Shapiro confirms. "If you don’t use enough sugar, the brew will not develop correctly and the right environment will not exist. Much of the sugar is digested and you’re left with minimal sugar at the end." So the sugar essentially "feeds" the healthy probiotics that develop as the batch ferments. Noted.
Once it's cooled, I add my sugary tea to the now-sanitized mason jar, add the funny-looking SCOBY disk, and cover the jar with the muslin cloth, which will allow it to breathe over the next week of fermentation. I then put my soon-to-be 'booch back into the wooden box and let the SCOBY work its magic.
"It's supposed to smell vinegary! It's kombucha"
Exactly one week later, I check my batch to see if it's ready to be bottled. Aside from dabbing white vinegar on the muslin cloth covering the mason jar (to inhibit mold growth), I've left it completely untouched for the past week.
I remove the cloth to pH-test the batch—a precursor to bottling—when I'm met with a strange sight. There's a white, solid mass that's formed on the surface. My boyfriend, standing nearby, peers over. "If that were beer, I'd tell you it had gone bad during fermentation," he says.
"Well, it's not beer," I assert, a bit defensively. I give it a sniff, and he follows my lead, saying, "It smells a bit...vinegary."
"It's supposed to smell vinegary! It's kombucha," I say with exasperation. Honestly, I'm relieved to be met with the smell of vinegar instead of rancidity. I realize, after perusing the brew kit's instructions, that the white mass in question is a new SCOBY and it's totally normal.
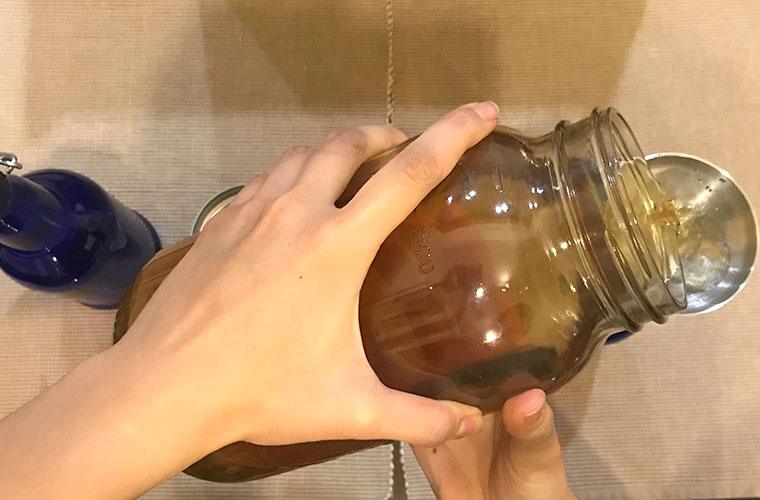
Worries assuaged, I pour my batch into the provided bottles and allow it to sit for the recommended one to two days before drinking.
"Every batch is a bit different"
After two days of bottled fermentation—one day at room temperature and half a day in the fridge—I'm ready to try my homemade kombucha.
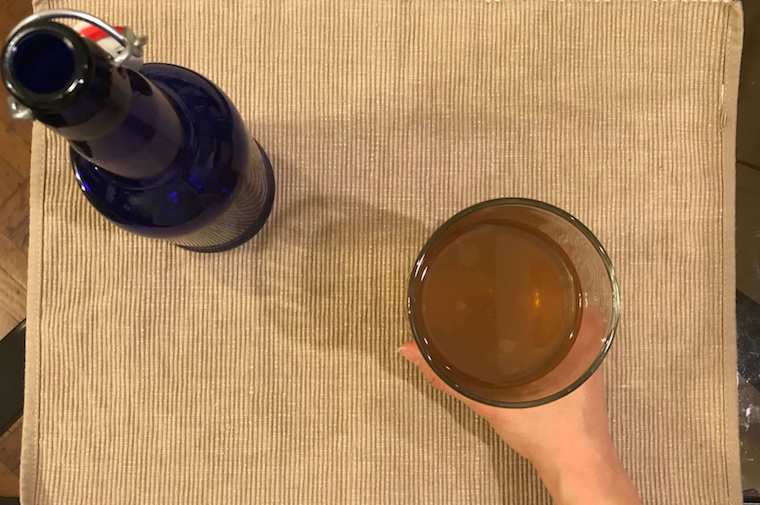
I pop the bottle, take a sip, and am met with cool, flat kombucha—no bubbles, no fizziness. The double-hit of flat kombucha and no time for coffee before heading to the office leaves me in a sorry state. Once I get to work, I immediately contact Box Brew Kits founder Michael Langone to figure out what's up with my batch, and if it's even salvageable.
After explaining my brew experience benchmarks (a great pH and the growth of an additional SCOBY), he assures me that my batch of 'booch is absolutely fine.
"Every batch of kombucha is a bit different, and may carbonate at different rates. It sounds like your kombucha is nice and healthy, and it doesn't sound like anything is wrong per se," he says. He goes on to explain that the two-day bottling period may be on the short side for this particular batch, advising me to add 1/2 teaspoon of sugar to each bottle and let them continue to ferment at room temperature for several more days.
After the ups and downs of the whole ordeal, I'm thrilled that I haven't ruined my first batch of kombucha, and I'm excited to taste it again. There's no question that buying a bottle to get my kombucha fix is infinitely easier, but there's something really satisfying about being able to brew my own. DIY forever.
This retailer is bringing an affordable in-house kombucha line to your neighborhood soon. And experts have sounded off on the hard kombucha debate—is it really a healthier way to get your buzz on?
Loading More Posts...


